Understanding the intricacies of an OBD2 4.0 swap can be daunting. This guide provides a deep dive into the process, covering everything from preparation and execution to troubleshooting potential issues.
Planning Your OBD2 4.0 Swap
Before diving into an OBD2 4.0 swap, meticulous planning is crucial. This includes identifying the correct engine and transmission combination for your vehicle, gathering necessary tools and parts, and understanding the legal implications of engine swaps in your area. Proper planning prevents costly mistakes and ensures a smooth swap process. Are you swapping a 4.0L engine into a vehicle that originally had a different engine? This is a common scenario, and understanding the wiring harness and ECU compatibility is essential.
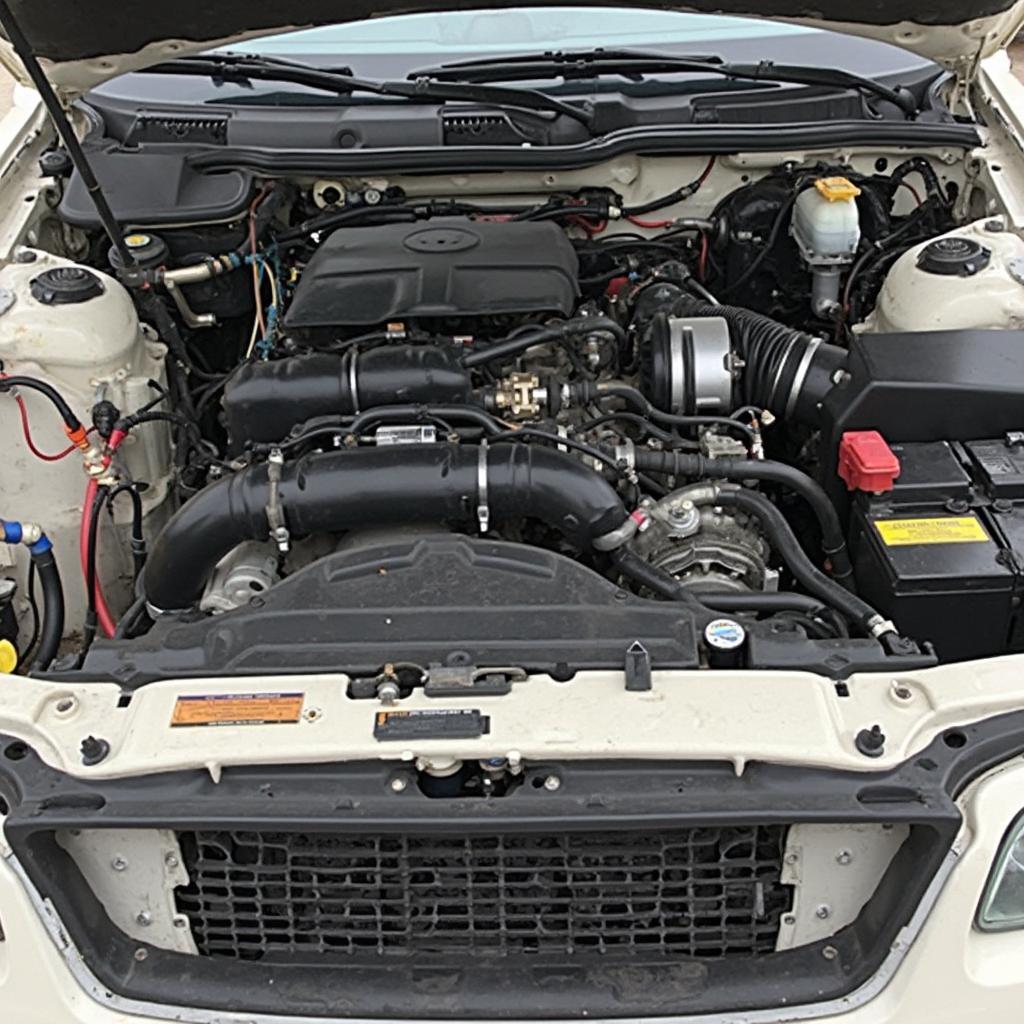 OBD2 4.0 Swap Engine Compartment Preparation
Executing the OBD2 4.0 Swap
With a solid plan in place, the actual swap begins with removing the old engine and transmission. This involves disconnecting various components such as the wiring harness, fuel lines, and exhaust system. Once the old powertrain is out, the engine bay should be thoroughly cleaned and inspected for any damage. Next, install the 4.0L engine and transmission, carefully connecting all necessary components. Precision and attention to detail are vital during this phase.
Wiring Harness and ECU Considerations
The wiring harness and ECU are critical components in an OBD2 4.0 swap. Ensuring compatibility between these components and your new engine is paramount. Sometimes, modifications to the wiring harness might be necessary. Using the correct ECU is vital for proper engine management and communication with the vehicle’s other systems. Do you need a specific ECU for your OBD2 4.0 swap? Absolutely. The ECU needs to match the engine and transmission for optimal performance.
07 explorer v6 4.0 5th cylinder misfire obd2
Troubleshooting Common OBD2 4.0 Swap Issues
Even with meticulous planning, issues can arise during or after an OBD2 4.0 swap. Common problems include misfires, check engine lights, and communication errors between the ECU and other systems. Having a reliable OBD2 scanner is invaluable for diagnosing and resolving these issues. What are some common causes of misfires after an OBD2 4.0 swap? Vacuum leaks, incorrect wiring, and faulty sensors are common culprits.
“A successful OBD2 4.0 swap relies heavily on careful planning and execution. Don’t underestimate the importance of a compatible wiring harness and ECU,” advises Alex Walker, a seasoned automotive engineer with over 20 years of experience.
Post-Swap Testing and Tuning
After completing the swap, thorough testing and tuning are essential. This includes verifying all systems function correctly, checking for leaks, and ensuring the engine runs smoothly. A professional tune can optimize the engine’s performance and fuel efficiency for your specific vehicle setup.
“Investing in a professional tune after an OBD2 4.0 swap can significantly improve performance and drivability,” adds Maria Rodriguez, a certified automotive technician specializing in engine performance tuning.
In conclusion, an OBD2 4.0 swap can be a rewarding project, but it demands thorough planning, careful execution, and a good understanding of automotive systems. By following the steps outlined in this guide and addressing potential issues proactively, you can ensure a successful swap and enjoy the benefits of your newly upgraded vehicle. Remember to use a reliable OBD2 scanner for diagnostics and troubleshooting.
FAQ
- What is an OBD2 4.0 swap?
- Why perform an OBD2 4.0 swap?
- What are the common challenges of an OBD2 4.0 swap?
- What tools are required for an OBD2 4.0 swap?
- How do I troubleshoot issues after an OBD2 4.0 swap?
- What are the legal implications of an engine swap?
- Where can I find more information about OBD2 systems?
For assistance, contact WhatsApp: +1(641)206-8880, Email: cardiagtechworkshop@gmail.com or visit us at 789 Elm Street, San Francisco, CA 94102, USA. We offer 24/7 customer support.