The OBD2 code B1939 indicates a problem within your vehicle’s airbag system. Specifically, this code points to an issue with the driver’s side front airbag deployment loop. While encountering any airbag fault can be concerning, understanding the B1939 code is crucial to ensuring your safety and addressing the problem effectively.
What Does Code B1939 Mean?
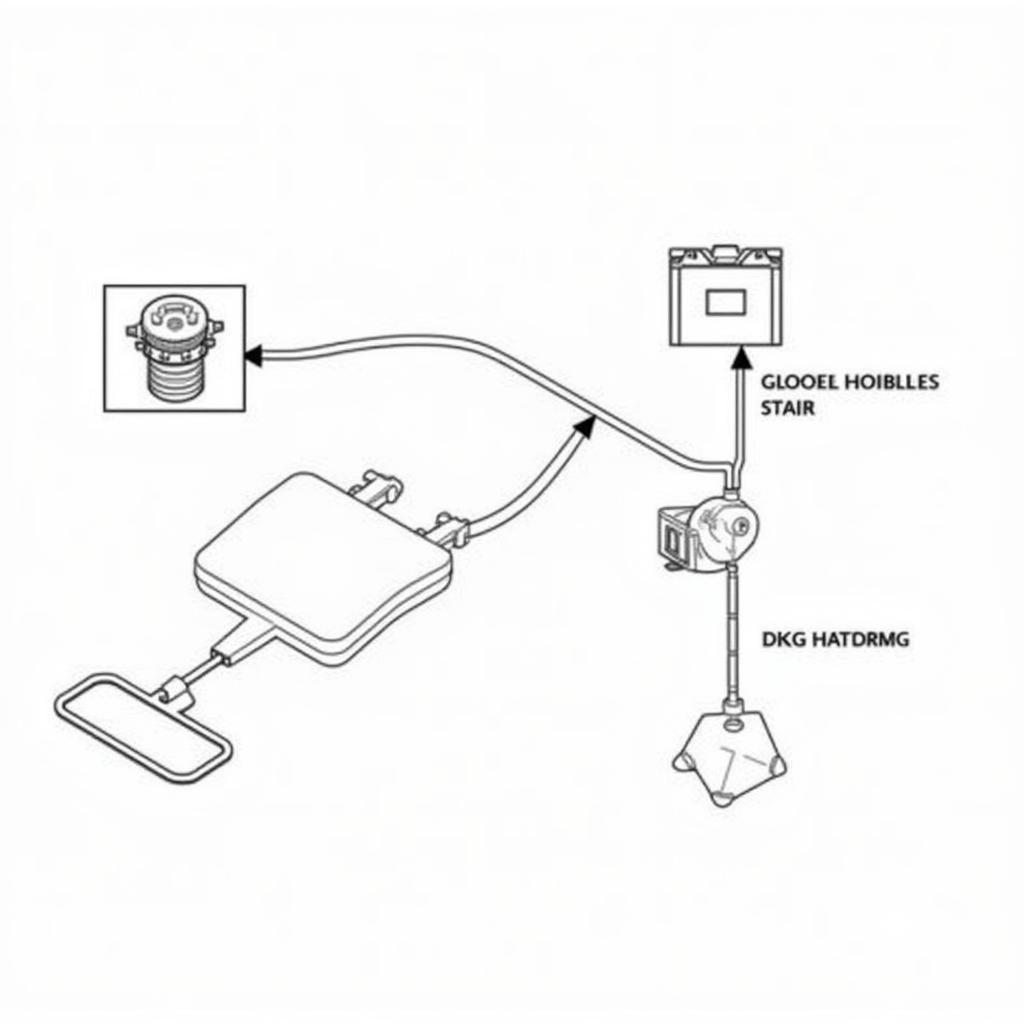
The code B1939 signals a fault within the electrical circuit of the driver’s frontal airbag deployment loop. This loop is a crucial component that connects the airbag control module (ACM) to the airbag itself.
 Driver Airbag Deployment Loop Schematic
When the ACM detects a crash, it sends an electrical signal through this loop to trigger the airbag’s deployment. If the circuit is compromised, the signal may be interrupted, preventing the airbag from deploying in an accident.
Common Causes of OBD2 Code B1939
Several factors can lead to a B1939 fault code. These include:
- Damaged wiring: The wiring within the deployment loop is susceptible to wear and tear, especially near the steering column where it flexes frequently. Fraying, pinching, or corrosion can disrupt the electrical signal.
- Faulty clock spring: The clock spring allows electrical connections to be maintained while the steering wheel rotates. A malfunctioning clock spring can interrupt the signal to the airbag.
- Bad electrical connector: Loose or corroded connectors within the deployment loop can cause intermittent or complete signal loss.
- Defective airbag control module: In rarer cases, the ACM itself may be faulty, leading to various airbag system errors, including B1939.
Diagnosing and Fixing the B1939 Code
Before attempting any repairs, it’s essential to properly diagnose the root cause of the B1939 code.
“Simply clearing the code without addressing the underlying problem is like putting a band-aid on a broken bone,” says automotive diagnostics expert John Smith, ASE Master Technician. “It’s vital to pinpoint the cause of the fault to ensure a safe and lasting repair.”
Here’s a step-by-step approach:
- Read the Code: Connect an OBD2 scanner to your vehicle’s diagnostic port and retrieve any stored codes.
- Inspect the Wiring: Carefully examine the wiring harness along the deployment loop for any visible damage, loose connections, or corrosion. Pay close attention to areas near the steering column and airbag module.
- Check the Clock Spring: Test the clock spring for continuity using a multimeter. A lack of continuity indicates a faulty clock spring that needs replacement.
- Inspect Connectors: Disconnect and inspect all electrical connectors within the deployment loop for signs of damage, corrosion, or improper seating.
- Test the Airbag Module: If other components check out, the airbag module may need testing or replacement. This is best handled by a qualified mechanic.
Importance of Professional Diagnosis and Repair
While some DIY enthusiasts may be comfortable tackling minor repairs, airbag systems are complex and potentially dangerous.
“Working with airbag systems requires specialized knowledge and tools,” cautions Smith. “Improper handling can lead to accidental deployment, which can cause serious injury.”
It’s always advisable to consult a qualified mechanic, especially if:
- You are not comfortable working with electrical systems.
- You cannot pinpoint the source of the problem.
- The issue involves the airbag control module or the airbag itself.
Conclusion
The OBD2 code B1939 should never be ignored. Addressing this fault promptly is essential to ensure the proper functioning of your vehicle’s airbag system and, most importantly, your safety on the road. By understanding the potential causes and seeking professional help when needed, you can rectify the issue and drive with confidence.

