
Your cart is currently empty!
OBD2 Honda Code LTFTB1: Understanding & Resolving the Issue
If you’re a Honda owner and have encountered the OBD2 code LTFTB1, you’re in the right place. This code indicates an issue with your vehicle’s engine performance, specifically related to the long-term fuel trim on Bank 1. Don’t worry, this guide will break down what this code means, its common causes, and how to address them.
What is Long Term Fuel Trim Bank 1 (LTFTB1)?
Your Honda’s engine relies on a delicate balance of air and fuel for optimal performance and fuel efficiency. This balance is constantly monitored and adjusted by the Engine Control Unit (ECU) using data from various sensors, including the oxygen sensors.
Long Term Fuel Trim (LTFT) refers to the ECU’s long-term adjustments to the fuel-air mixture. “Bank 1” specifies the side of the engine where the issue is detected, typically the side with cylinder #1. A positive LTFTB1 value means the ECU is adding fuel to compensate for a lean condition (too much air, not enough fuel). Conversely, a negative value indicates the ECU is reducing fuel to correct a rich condition (too much fuel, not enough air).
Common Causes of OBD2 Code LTFTB1
Several factors can trigger the LTFTB1 code on your Honda. Identifying the root cause is crucial for effective troubleshooting:
-
Vacuum Leaks: Leaks in the intake manifold, vacuum hoses, or related components can disrupt the air-fuel ratio, leading to a lean condition.
-
Faulty Oxygen Sensor (O2 Sensor): A malfunctioning O2 sensor, particularly the one upstream of the catalytic converter on Bank 1, can provide inaccurate readings to the ECU, causing incorrect fuel trim adjustments.
-
Fuel Injector Problems: A clogged, dirty, or leaking fuel injector on Bank 1 can disrupt fuel delivery, leading to a lean or rich condition.
-
Mass Air Flow (MAF) Sensor Issues: The MAF sensor measures the amount of air entering the engine. A dirty or faulty MAF sensor can provide inaccurate readings, affecting fuel trim calculations.
-
Exhaust Leaks: Leaks in the exhaust manifold, exhaust pipes, or catalytic converter can alter exhaust gas readings, potentially triggering the LTFTB1 code.
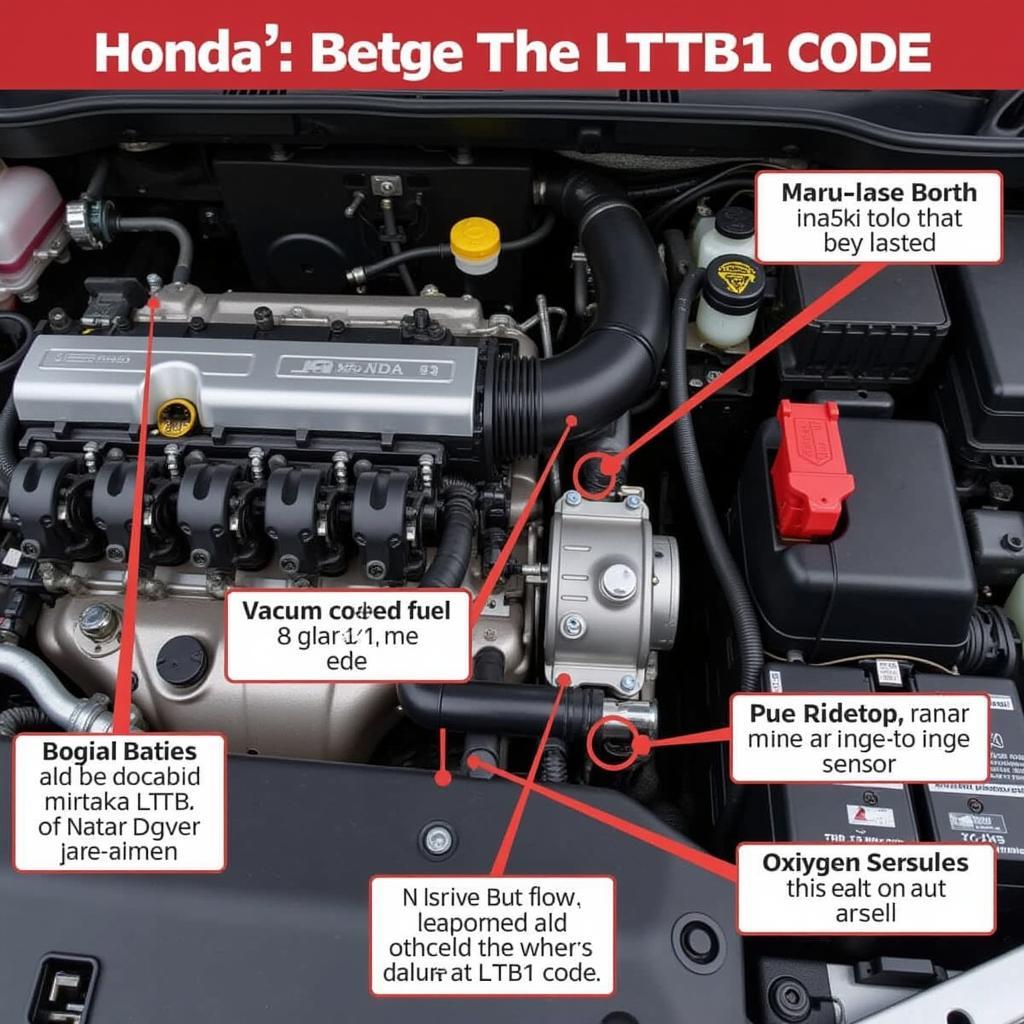
Honda Engine Components Related to LTFTB1 Code
Troubleshooting and Resolving the LTFTB1 Code
Resolving the LTFTB1 code requires a systematic approach:
-
Read and Clear the Code: Start by using an OBD2 scanner to read the code. Once noted, clear the code and see if it returns. Sometimes, temporary glitches can trigger the code.
-
Inspect for Vacuum Leaks: Visually inspect all vacuum hoses and connections on Bank 1 for cracks, loose clamps, or damage. You can also use a carburetor cleaner spray around potential leak points while the engine is idling—a change in engine speed indicates a leak.
-
Check the Oxygen Sensor: Inspect the wiring and connector of the upstream O2 sensor on Bank 1. Consider testing the sensor’s voltage output using a multimeter. Replace the sensor if it’s not functioning correctly.
-
Inspect and Clean the MAF Sensor: Locate the MAF sensor and carefully clean it using a MAF sensor cleaner. Avoid touching the sensor wire. Reinstall the sensor and clear the code.
-
Examine Fuel Injectors: Listen for any clicking sounds from the injectors while the engine is running, which could indicate a problem. Consider having the fuel injectors professionally cleaned or replaced if necessary.
-
Check for Exhaust Leaks: Inspect the exhaust system on Bank 1 for leaks. Look for black soot deposits around potential leak points. Address any leaks by tightening connections or replacing damaged components.
When to Consult a Mechanic
While some DIY repairs can address the LTFTB1 code, certain situations warrant professional assistance:
- Persistent Code: If the code returns after attempting repairs, further diagnosis is necessary.
- Complex Issues: Issues like internal engine problems or complex electrical faults require specialized knowledge and equipment.
- Lack of Experience: If you’re uncomfortable working on your vehicle, it’s best to leave it to the professionals.
 Mechanic Inspecting Honda Engine for LTFTB1 Code
Conclusion
Addressing the OBD2 code LTFTB1 is essential for maintaining your Honda’s performance, fuel economy, and emissions control. By understanding the code and following the troubleshooting steps outlined above, you can often pinpoint and resolve the issue. However, don’t hesitate to seek professional help when needed to ensure a thorough and effective repair.
Leave a Reply