Using OBD2 injector clips on an OBD1 harness is a common modification, especially for engine swaps or upgrades. This involves adapting the newer OBD2 injector connectors to the older OBD1 wiring system. Understanding the intricacies of this process is crucial for a successful and reliable conversion.
Understanding the Differences Between OBD1 and OBD2 Fuel Injection
Before diving into the specifics of using OBD2 injector clips on an OBD1 harness, it’s essential to grasp the fundamental differences between these two systems. OBD1, or On-Board Diagnostics generation one, was the standard for vehicle diagnostics in the United States until 1996. It utilized a simpler communication protocol and fewer sensors compared to its successor, OBD2. OBD2, introduced in 1996, offers more sophisticated diagnostics and stricter emission control standards. A key difference lies in the fuel injection system. OBD1 systems often used batch-fire injection, while OBD2 systems commonly employ sequential fuel injection, offering more precise fuel delivery and improved engine performance. This difference translates to different wiring configurations and connector types for the fuel injectors.
Why Use OBD2 Injector Clips on an OBD1 Harness?
The motivation for using OBD2 injector clips on an OBD1 harness often stems from engine swaps or performance upgrades. Swapping a newer OBD2 engine into an older OBD1 vehicle necessitates adapting the wiring for the fuel injectors. Similarly, upgrading to OBD2 injectors on an OBD1 engine can provide performance benefits, especially when combined with a tuned ECU.
Common Scenarios for Adapting OBD2 Injectors
- Engine Swaps: Installing a newer, more powerful OBD2 engine into an older vehicle.
- Performance Upgrades: Utilizing high-performance OBD2 injectors on an OBD1 engine.
- Wiring Harness Repair: Replacing damaged sections of an OBD1 harness with readily available OBD2 components.
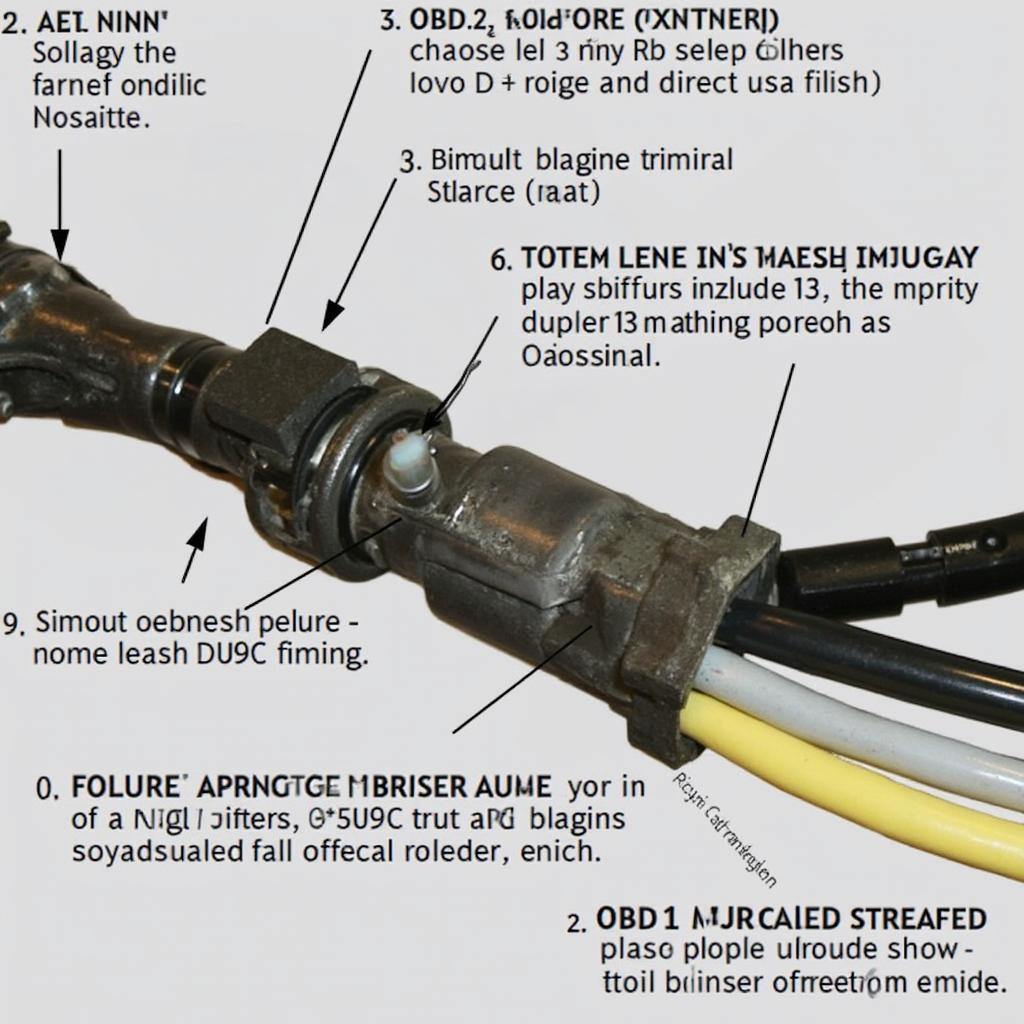
 OBD2 Injector Clips Installed on an OBD1 Harness
How to Install OBD2 Injector Clips on an OBD1 Harness
The process involves carefully splicing the OBD2 injector clips onto the existing OBD1 wiring. This requires a clear understanding of the wiring diagram for both the OBD1 harness and the OBD2 injectors.
Step-by-Step Guide for Installing OBD2 Injector Clips
- Disconnect the battery: Ensure the negative terminal is disconnected to prevent electrical shorts.
- Identify the correct wires: Consult the wiring diagrams for both the OBD1 harness and the OBD2 injectors to correctly identify the corresponding wires.
- Cut and strip the wires: Carefully cut and strip the insulation from the OBD1 injector wires and the wires on the OBD2 injector clips.
- Solder the connections: Solder the corresponding wires together, ensuring a secure and reliable connection.
- Insulate the connections: Use heat shrink tubing or electrical tape to insulate the soldered connections, protecting them from moisture and corrosion.
- Test the connections: Before reconnecting the battery, use a multimeter to test the continuity of the connections.
“Precise wiring is paramount,” advises Michael Stevens, ASE Certified Master Technician. “A single incorrect connection can lead to significant engine problems.”
Troubleshooting Common Issues
While the process is relatively straightforward, issues can arise. Common problems include mismatched wiring, poor solder joints, and inadequate insulation.
Identifying and Resolving Wiring Problems
- Misfires: Could indicate incorrect wiring or a faulty injector.
- Poor Fuel Economy: Might suggest a wiring issue affecting injector pulse width.
- No Start Condition: Possibly caused by a complete circuit failure due to incorrect wiring.
“Always double-check your wiring,” cautions Sarah Chen, Automotive Electrical Engineer. “A simple mistake can lead to frustrating and time-consuming troubleshooting.”
Conclusion
Adapting OBD2 injector clips to an OBD1 harness offers a viable solution for engine swaps and performance upgrades. By understanding the differences between OBD1 and OBD2 systems and following the proper installation procedures, you can achieve a successful and reliable conversion. Remember, meticulous attention to detail and thorough testing are essential for a smooth-running engine. Successfully implementing this modification can unlock performance gains and provide a path for integrating modern fuel injection technology with older vehicles.
FAQ
- Do I need a special tool to crimp the OBD2 injector clips? A specialized crimping tool is recommended for secure connections.
- Can I use butt connectors instead of soldering? Soldering is preferred for a more reliable and durable connection.
- What gauge wire should I use for the connections? Use the same gauge wire as the existing OBD1 injector wiring.
- Do I need to reprogram the ECU after installing OBD2 injectors? This depends on the specific application and ECU. Consult a tuning specialist if necessary.
- Where can I find the wiring diagrams for my specific vehicle? Online resources, repair manuals, and automotive forums are good sources for wiring diagrams.
Need More Help?
For personalized assistance with your OBD2 scanner needs, contact us via WhatsApp: +1(641)206-8880 or Email: [email protected]. Our 24/7 customer support team is ready to help. You can also find additional information and resources on our website, including articles on OBD2 codes, scanner reviews, and troubleshooting guides.
