
Your cart is currently empty!
How to Use an OBD2 Scanner: A Comprehensive Guide
You’re driving along, and suddenly, a yellow light on your dashboard throws you for a loop. The dreaded “check engine” light. What does it mean? More importantly, what do you do about it? This is where the magic of an OBD2 scanner comes in.
An OBD2 scanner, also known as an On-Board Diagnostics scanner, is a device that allows you to communicate with your car’s computer and decipher those cryptic error codes. It’s like having a direct line to your car’s brain, giving you insights into its health and performance. But how do you actually use one?
This comprehensive guide will walk you through everything you need to know about OBD2 scanners and how to use them like a pro. We’ll cover the basics of OBD2 technology, the different types of scanners available, and provide a step-by-step guide on how to use one to diagnose and troubleshoot car problems.
Understanding OBD2 Technology
Before we dive into the “how-to,” let’s take a quick look at what OBD2 is and how it works. OBD2 stands for On-Board Diagnostics, Generation Two, and it’s a standardized system used in vehicles manufactured since 1996 (in the United States) to monitor and report on the performance of a vehicle’s engine and emissions control systems.
Think of your car’s computer system as a network, and the OBD2 system is like the central hub. It collects data from various sensors located throughout your vehicle, monitoring everything from engine speed and temperature to oxygen levels in the exhaust. When the system detects a problem, it generates a specific code, storing it in the car’s computer memory.
This is where your handy OBD2 scanner comes in. By plugging into your car’s OBD2 port (usually located under the dashboard on the driver’s side), the scanner can access and read these stored codes, translating them into understandable information that can help you identify the root cause of the problem.
Types of OBD2 Scanners
OBD2 scanners come in various shapes, sizes, and price points, each offering a different level of functionality. Here are the most common types you’ll encounter:
-
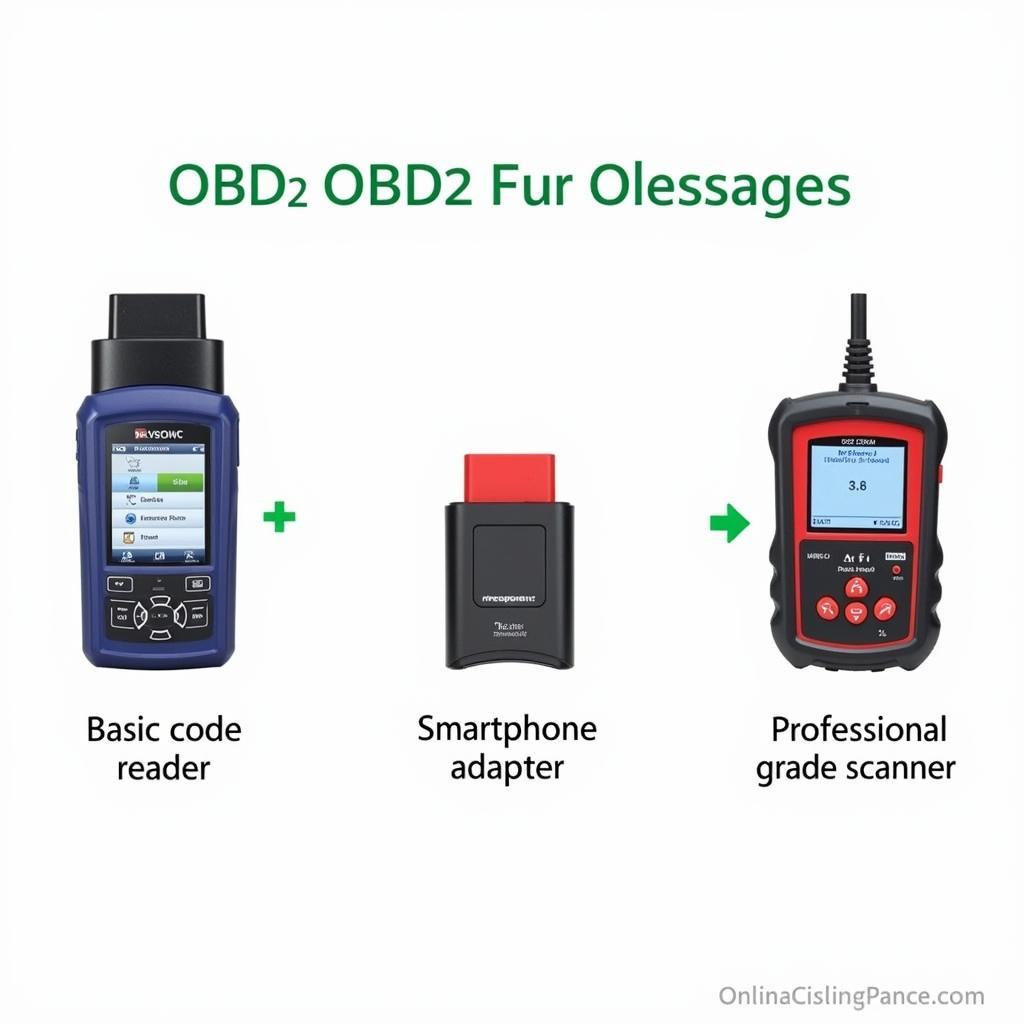
Basic Code Readers: These are the most affordable and straightforward type of scanner. They can read and clear basic diagnostic trouble codes (DTCs) but don’t offer much in the way of advanced features.
-
Smartphone OBD2 Adapters: These compact devices plug into your car’s OBD2 port and connect to your smartphone or tablet via Bluetooth. They work in conjunction with dedicated apps that provide a user-friendly interface for reading codes, viewing live data, and accessing additional features.
-
Professional-Grade Scanners: These are the heavy hitters of the OBD2 world, offering a comprehensive suite of features for diagnosing and troubleshooting complex car problems. They’re typically used by mechanics and automotive professionals but can be a worthwhile investment for serious DIYers.
Different Types of OBD2 Scanners
How to Use an OBD2 Scanner: A Step-by-Step Guide
Now for the main event! Let’s walk through the steps of using an OBD2 scanner to diagnose a problem with your vehicle:
Step 1: Locate Your Car’s OBD2 Port
As mentioned earlier, the OBD2 port is typically located under the dashboard on the driver’s side. It’s a standardized 16-pin connector that resembles a trapezoid.
Step 2: Plug in the OBD2 Scanner
With your car turned off, insert the scanner’s connector into the OBD2 port. Make sure it’s securely connected.
Step 3: Turn the Ignition On
Turn the ignition key to the “on” position but don’t start the engine. This will power up the scanner and allow it to communicate with your car’s computer.
Step 4: Pair the Scanner (If Applicable)
If you’re using a Bluetooth OBD2 adapter, you’ll need to pair it with your smartphone or tablet. This is typically done through your device’s Bluetooth settings.
Step 5: Launch the Scanner Software
Turn on the scanner if it has a separate power button. If you’re using a smartphone adapter, launch the corresponding app on your device.
Step 6: Read the Trouble Codes
Once the scanner is connected and the software is running, select the option to read or retrieve trouble codes. The scanner will communicate with your car’s computer and display any stored codes.
Step 7: Interpret the Codes
Each trouble code is a combination of letters and numbers that represent a specific problem. You can use the scanner’s built-in code library or consult an online resource (like OBDFree!) to understand what each code means.
Step 8: Clear the Codes
Once you’ve diagnosed the problem and addressed the underlying issue, you can use the scanner to clear the trouble codes from your car’s computer. This will turn off the check engine light and reset the system.
Step 9: Additional Features
Depending on the type of OBD2 scanner you have, you may have access to additional features such as:
-
Live Data: View real-time sensor data, such as engine speed, coolant temperature, and oxygen sensor readings.
-
Freeze Frame Data: Access a snapshot of the vehicle’s operating conditions at the time a trouble code was stored.
-
Emissions Readiness Tests: Check if your car is ready for emissions testing.
-
Component Testing: Perform tests on specific components, such as solenoids and actuators.
Conclusion
Using an OBD2 scanner might seem intimidating at first, but it’s actually a straightforward process that can empower you to take control of your car’s health. By understanding the basics of OBD2 technology and following these simple steps, you can unlock a wealth of information about your vehicle and potentially save yourself time, money, and frustration in the long run.
Leave a Reply