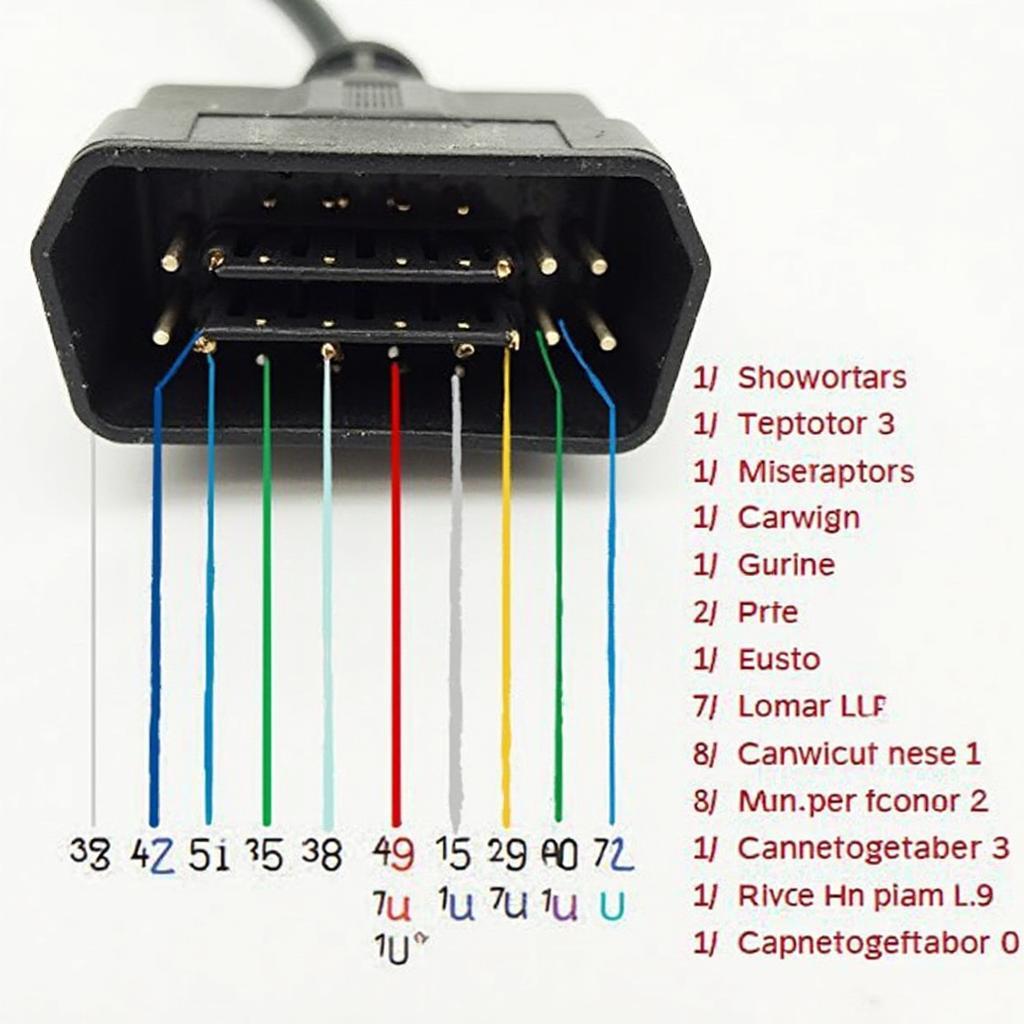
The OBD2 port, often found under the driver’s side dashboard, is the gateway to your car’s inner workings. It provides a standardized interface for accessing diagnostic information from your vehicle’s Engine Control Unit (ECU). This article delves into the intricacies of OBD2 port specifications, explaining what you need to know about this crucial component of modern vehicles.
A Deep Dive into OBD2 Port Specifications
The OBD2 port, standardized by the Society of Automotive Engineers (SAE), is a 16-pin female connector. While all OBD2 ports share this basic design, the specific pin assignments can vary depending on the communication protocol used by the vehicle.
OBD2 Communication Protocols: The Language of Your Car
OBD2 utilizes various communication protocols, which are essentially languages that allow your car’s systems to talk to a diagnostic tool. The most common protocols include:
- ISO 9141-2: Primarily found in older European vehicles.
- KWP2000: Used in many European and Asian vehicles.
- SAE J1850 PWM/VPW: Commonly found in older Ford and GM vehicles, respectively.
- CAN (Controller Area Network): The most prevalent protocol in modern vehicles.
The specific protocol(s) employed by your vehicle dictate which pins on the OBD2 port are active.
Understanding OBD2 Pin Assignments
While some pins serve specific functions across all vehicles, others are dedicated to particular protocols. Here’s a breakdown:
- Pin 1: Manufacturer Discretionary
- Pin 2: J1850 Bus+ (PWM & VPW)
- Pin 3: Manufacturer Discretionary
- Pin 4: Chassis Ground
- Pin 5: Signal Ground
- Pin 6: CAN High (J-2284)
- Pin 7: ISO 9141-2 K-Line, ISO 14230-4 KWP2000
- Pin 8: Manufacturer Discretionary
- Pin 9: Manufacturer Discretionary
- Pin 10: J1850 Bus- (PWM & VPW)
- Pin 11: Manufacturer Discretionary
- Pin 12: Manufacturer Discretionary
- Pin 13: Manufacturer Discretionary
- Pin 14: CAN Low (J-2284)
- Pin 15: ISO 9141-2 L-Line, ISO 14230-4 L-Line
- Pin 16: Battery Voltage
Expert Insight: “Understanding the specific communication protocols and pin assignments used by a vehicle is essential for selecting compatible diagnostic tools and interpreting the data retrieved.” – John Miller, Senior Automotive Diagnostic Technician.
Why OBD2 Port Specifications Matter
Knowing the ins and outs of your OBD2 port is crucial for several reasons:
- Compatibility: You’ll need this information to choose an obd2 gsr distributor or diagnostic scanner that supports your vehicle’s specific communication protocols.
- Troubleshooting: Understanding the pin assignments allows for advanced diagnostics. For instance, if pin 16 isn’t supplying battery voltage, it might signal a problem with your vehicle’s electrical system.
- DIY Repairs: With the right knowledge and tools, you can use the OBD2 port to perform some repairs yourself, such as resetting the check engine light after resolving an issue.
FAQs about OBD2 Port Specifications
1. Can I damage my car by using the wrong OBD2 scanner?
While the OBD2 port is designed to be fairly robust, using an incompatible scanner could potentially cause electrical problems. It’s crucial to select a scanner that supports your vehicle’s make, model, and year.
2. Can I use the OBD2 port for anything other than diagnostics?
Yes! The OBD2 port can be used for a range of applications, from tracking your car’s location with a GPS tracker to enhancing performance with a mini dash cam obd2.
3. How do I know which communication protocols my car uses?
You can find this information in your vehicle’s owner’s manual. Additionally, many online resources provide vehicle-specific OBD2 information.
Conclusion
Understanding obd2 port specifications is essential for anyone who wants to delve deeper into their car’s health and performance. This knowledge empowers you to choose the right diagnostic tools, interpret data accurately, and potentially even tackle some repairs yourself. Always consult your vehicle’s manual or a qualified mechanic for complex issues.
