Delving into the world of car diagnostics often seems daunting and expensive. But what if you could build your own OBD2 scanner with an Arduino? This instructable will guide you through turning your Arduino board into a powerful tool for understanding and even fixing your car’s issues. We’ll cover everything from the basics of OBD2 and Arduino to building, coding, and using your very own DIY scanner.
Understanding OBD2 and its Potential
OBD2, or On-Board Diagnostics, is the standardized system used in vehicles since 1996 to monitor and report engine and emissions performance. An OBD2 scanner acts like a window into your car’s computer, translating complex data into understandable information about your vehicle’s health.
While commercial scanners offer a plug-and-play experience, building your own with Arduino provides a deeper understanding of the technology and the flexibility to customize it to your needs. Imagine analyzing real-time fuel efficiency, tracking engine parameters on a custom dashboard, or even clearing those pesky check engine lights – all possible with an Arduino OBD2 scanner!
Gathering the Tools for the Job
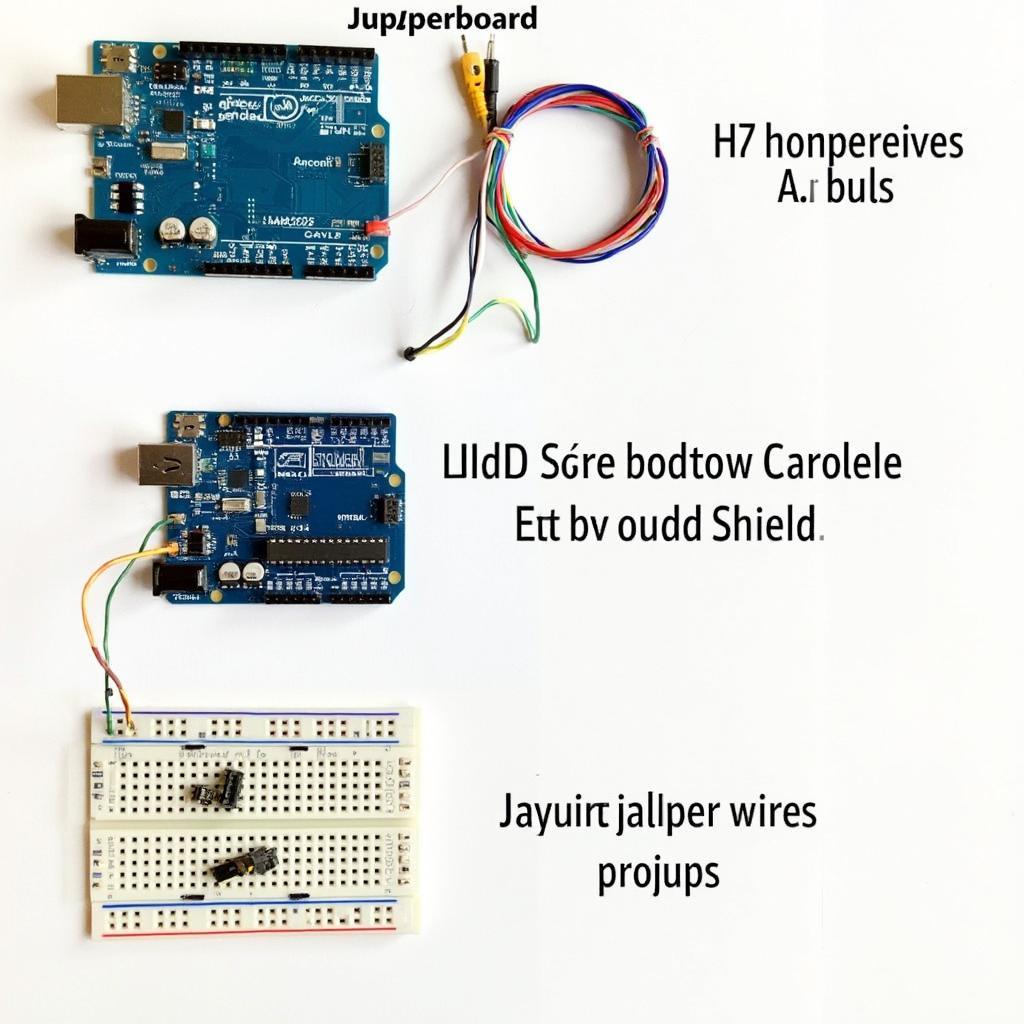
Before diving into the build, let’s gather the necessary components. Fortunately, this project utilizes readily available and affordable parts:
- Arduino Board: The brains of our operation. An Arduino Uno is a great starting point.
- OBD2 Connector Cable: This cable acts as the bridge between your car and Arduino.
- CAN-BUS Shield: Modern vehicles use CAN-BUS communication, and this shield allows your Arduino to understand it.
- Jumper Wires: For making connections on the breadboard.
- Breadboard (Optional): Useful for prototyping and making clean connections.
 Essential OBD2 Scanner Components
Assembling Your OBD2 Scanner
With components in hand, let’s assemble the hardware:
- Mount the CAN-BUS Shield: Carefully attach the shield to your Arduino board, ensuring proper alignment.
- Connect the OBD2 Cable: Plug the OBD2 cable into its port on the CAN-BUS shield.
- Power Up: Connect your Arduino to your computer via USB. This will provide power to the board.
Breathing Life into the Scanner: Arduino Code
Now comes the exciting part – programming your Arduino! We’ll be using the Arduino IDE and libraries to simplify the process:
- Install Libraries: Download and install necessary libraries for OBD2 and CAN-BUS communication.
- Upload the Code: Copy the provided Arduino code to your IDE and upload it to your board. This code will enable your Arduino to communicate with your car’s ECU.
First Contact: Connecting to Your Car
It’s time to connect your creation to your car!
- Locate the OBD2 Port: In most cars, you’ll find the OBD2 port under the dashboard on the driver’s side.
- Connect and Power On: Plug the OBD2 connector into your car’s port. Then, turn on your car’s ignition (don’t start the engine yet).
Deciphering the Codes: Reading OBD2 Data
With everything connected, you can now start reading data from your car’s ECU! You can use the Arduino IDE’s Serial Monitor to view the raw data stream.
To make sense of the data, you can use OBD2 code charts available online. These charts will help you decipher the meaning behind each code.
Taking it Further: Customization and Projects
The beauty of an Arduino OBD2 scanner lies in its customization. You can modify the code to:
- Display Specific Data: Isolate and display only the data you’re interested in, such as engine speed, temperature, or fuel level.
- Create a Custom Dashboard: Design a graphical interface to visualize data in a more intuitive way.
- Log Data: Store OBD2 data on an SD card for later analysis.
- Set Up Alerts: Program the scanner to trigger alerts for specific conditions, like high engine temperature.
Conclusion
Building your own OBD2 scanner with Arduino is an empowering project for any car enthusiast or electronics hobbyist. It’s a fantastic way to learn about car electronics, delve into the world of microcontrollers, and gain a deeper understanding of your vehicle. And with its endless customization possibilities, the only limit is your imagination!
FAQs
1. Do I need prior programming experience for this project?
While prior coding experience is helpful, this project is beginner-friendly. The provided code is well-commented, and numerous online resources can guide you through the process.
2. Can I use this scanner on any car?
This scanner is compatible with most cars manufactured after 1996 that are equipped with the OBD2 standard.
3. What other projects can I do with an Arduino OBD2 scanner?
The possibilities are vast! You can create a performance logger, build a trip computer, or even design a system that automatically adjusts your car’s settings based on driving conditions.
4. Where can I find more information about OBD2 codes?
Numerous online databases and forums are dedicated to OBD2 codes. A simple search for “OBD2 code definitions” will lead you to a wealth of information.
5. Can I damage my car by using this DIY scanner?
As long as you follow the instructions carefully and avoid modifying your car’s wiring, the risk of damage is minimal. However, it’s always best to err on the side of caution and consult with a qualified mechanic if you have any concerns.
Need help with your DIY OBD2 scanner project? We’re here to assist! Contact our 24/7 support team via WhatsApp: +1(641)206-8880 or email: [email protected].
