Performing an OBD2 to OBD1 conversion on your Honda Civic can seem daunting, but with the right information and preparation, it’s a manageable project. This guide will walk you through the process, explaining why you might consider this swap, the necessary components, and the steps involved in completing the conversion.
Swapping from OBD2 to OBD1 in a Honda Civic is a popular modification, often chosen for tuning flexibility and cost-effectiveness. OBD1 systems, while older, offer simpler tuning options and often a wider range of aftermarket support for performance enhancements. Understanding the intricacies of this conversion is crucial for a successful outcome. This includes understanding the differences between OBD1 and OBD2 diagnostics. After this conversion, you’ll need an OBD1 scanner for diagnostics. You can learn more about using OBD2 in a CRX obd2 in crx.
Why Convert to OBD1?
The primary reason enthusiasts choose to convert their OBD2 Civics to OBD1 is for tuning. OBD1 ECUs are readily available and easily chipped or tuned using readily available software and hardware. This allows for greater control over fuel and ignition maps, enabling significant performance gains. Additionally, OBD1 systems are often perceived as more reliable and less prone to sensor-related issues. Another reason some prefer OBD1 is the cost-effectiveness of parts and tuning solutions.
Gathering the Necessary Components
Before you begin, ensure you have all the required parts. This typically includes an OBD1 ECU, a conversion harness, a distributor, and potentially some additional sensors depending on your specific Civic model. Choosing the correct ECU is critical, as it needs to be compatible with your engine. Researching forums and online communities dedicated to Honda Civics can provide invaluable information specific to your year and model. Information on using an OBD1 ECU with an OBD2 distributor can be found at obd1 ecu with obd2 distributor.
Step-by-Step Conversion Process
-
Disconnect the battery: Safety first! Always disconnect the negative battery terminal before working on any electrical components of your vehicle.
-
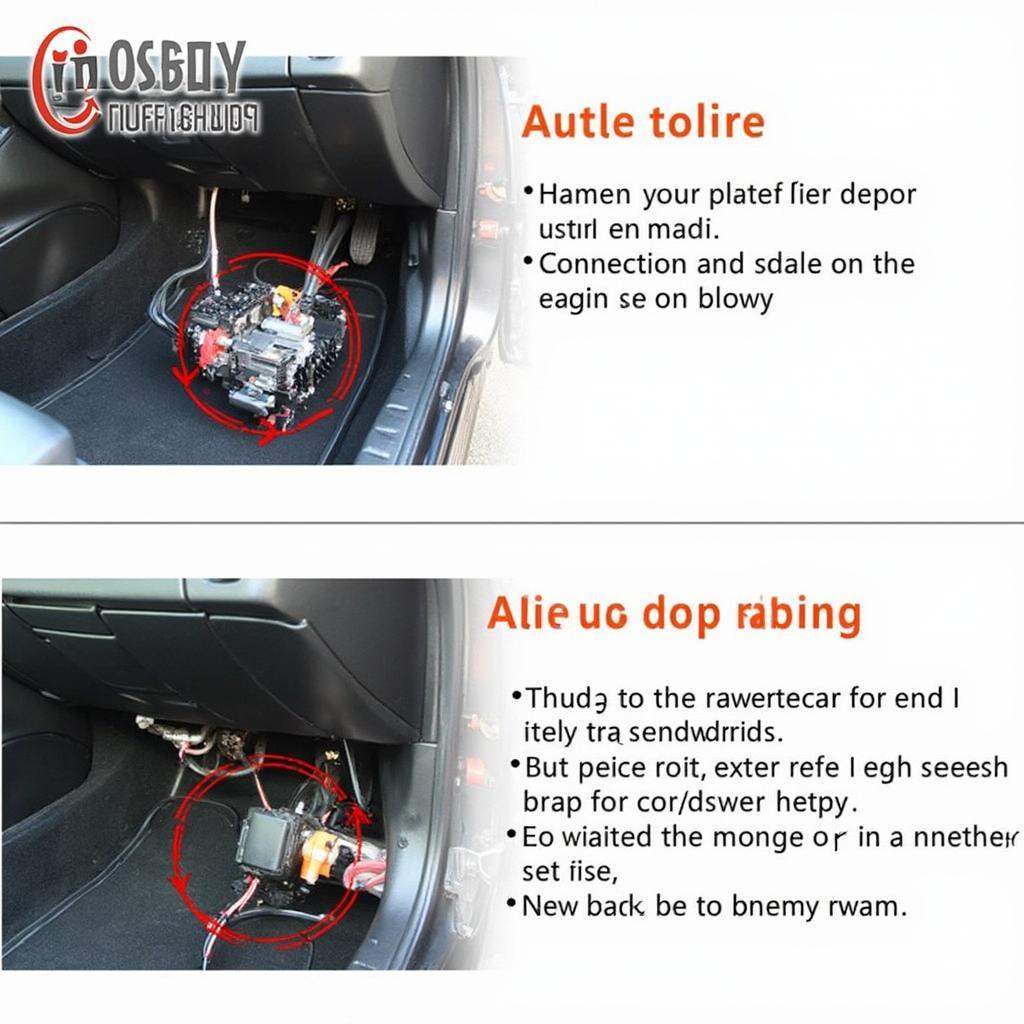
Remove the OBD2 ECU and harness: Locate the OBD2 ECU, usually found under the passenger side dashboard or behind the glove box. Carefully disconnect the harness and remove the ECU.
-
Install the OBD1 conversion harness: This harness acts as a bridge between your Civic’s wiring and the OBD1 ECU. Follow the instructions provided with the harness for proper installation. The correct wiring is crucial for a successful conversion.
-
Install the OBD1 ECU and distributor: Connect the OBD1 ECU to the conversion harness and mount it securely. Install the OBD1 distributor, ensuring proper timing.
-
Connect the necessary sensors: Depending on your specific setup, you might need to connect or bypass certain sensors. Consult your conversion harness instructions for specific details. Information about converting an OBD2 distributor to an OBD1 harness can be found on our page about obd2 distributor to obd1 harness.
-
Reconnect the battery and test: After double-checking all connections, reconnect the battery and start your Civic. Check for any error codes and ensure the engine runs smoothly. You might need to adjust the timing or make minor adjustments to the tuning.
 Installing the OBD1 ECU and Harness
Troubleshooting Common Issues
Sometimes, even with careful planning, issues can arise. Common problems include incorrect wiring, faulty components, and timing issues. Double-checking all connections and referring to online resources can often resolve these problems. Our guide on OBD2 to OBD1 engine harnesses obd2 to obd1 engine harness might offer further assistance.
Conclusion
Converting your OBD2 Civic to OBD1 can offer significant benefits for tuning and performance. By following this guide and taking the necessary precautions, you can successfully complete this conversion and unlock the potential of your Honda Civic. Remember to research your specific model and consult with experienced tuners if needed. This conversion allows you to utilize the simplicity and affordability of OBD1 tuning solutions, ultimately giving you more control over your vehicle’s performance. Check out our article on Honda OBD2 to OBD1 distributor conversion for additional information honda obd2 to obd1 distributor conversion.
FAQ
- Is an OBD2 to OBD1 conversion legal? Emissions regulations vary by location. Check your local laws regarding modifications to emissions systems.
- Will I lose any features by converting to OBD1? You might lose some OBD2 specific diagnostic capabilities.
- Can I reverse the conversion back to OBD2? Yes, by reinstalling the original components and harness.
- What are the benefits of using an OBD1 system? Simpler tuning options and often more affordable aftermarket parts.
- Do I need any special tools for this conversion? Basic hand tools and a wiring diagram should suffice.
- Where can I find a reliable conversion harness? Reputable online retailers and automotive parts stores.
- What is the approximate cost of this conversion? The cost varies depending on the parts chosen and whether professional installation is sought.
Common OBD2 to OBD1 Swap Scenarios
- Swapping a D16Y8 (OBD2) for a B16A2 (OBD1): This is a popular swap and requires careful attention to wiring and sensor compatibility.
- Converting a 1999 Civic EX (OBD2D) to OBD1: This requires a specific conversion harness for OBD2D compatibility.
- Using an OBD1 P28 ECU in an OBD2 Civic: This is a common choice for tuning and requires chipping or modifying the P28 ECU.
Further Reading and Resources
For more information on OBD systems and related topics, consider researching the following:
- Differences between OBD1 and OBD2 diagnostic codes.
- Understanding Honda engine codes.
- Choosing the right OBD1 ECU for your engine.
Need help? Contact us via WhatsApp: +1(641)206-8880, Email: [email protected] or visit us at 789 Elm Street, San Francisco, CA 94102, USA. Our 24/7 customer support team is ready to assist you.
