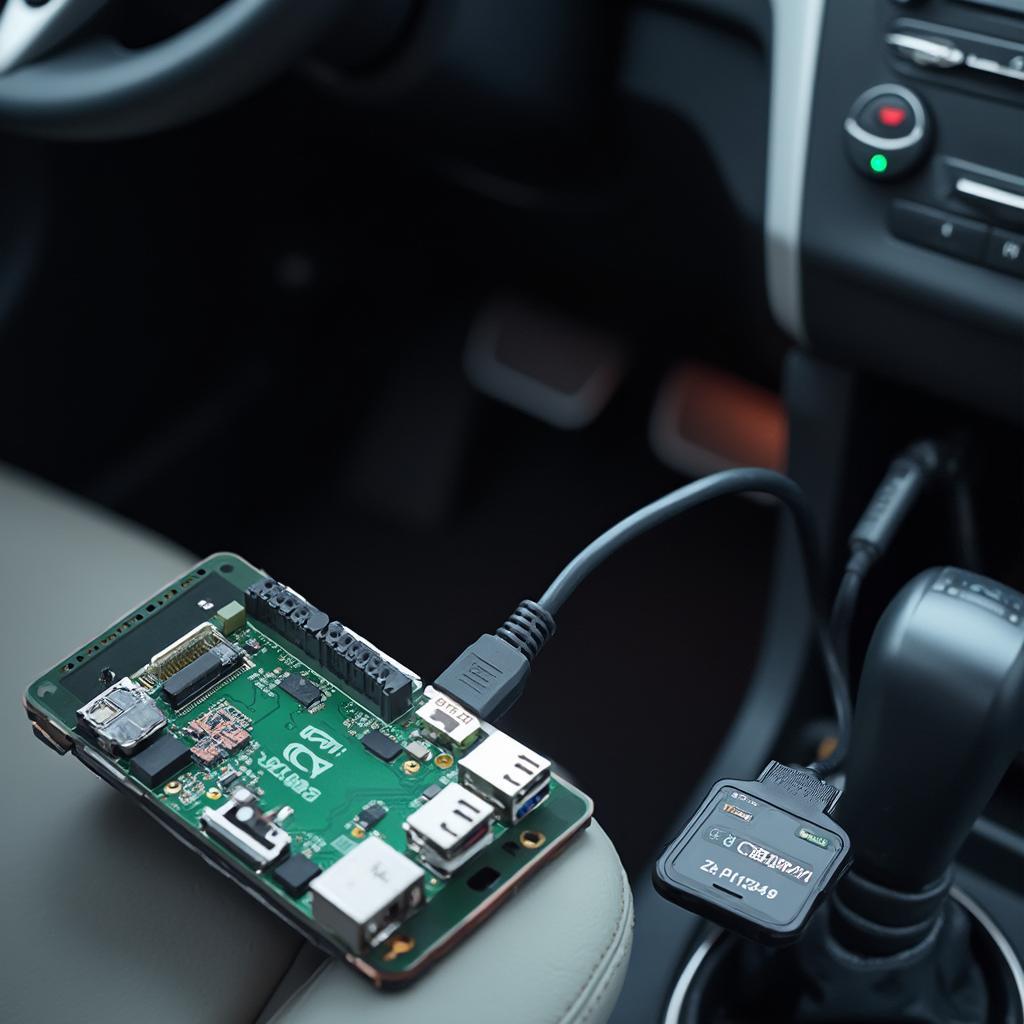
The OBD2 port in your car is a treasure trove of information, and with a Raspberry Pi 3, you can tap into that data and unlock a world of possibilities. This guide will walk you through everything you need to know about connecting your OBD2 port to a Raspberry Pi 3, turning your car into a rolling computer.
Understanding the Power of OBD2 and Raspberry Pi
Before we dive into the how-to, let’s briefly explore the “why.” OBD2, short for On-Board Diagnostics, is a standardized system that allows external devices to access your car’s computer and retrieve valuable data. This data ranges from basic information like speed and RPM to more complex diagnostics like engine temperature, fuel efficiency, and even error codes.
On the other hand, the Raspberry Pi 3 is a credit card-sized computer that packs a punch. Its versatility and affordability have made it a favorite among hobbyists and professionals alike. By combining the data accessibility of OBD2 with the processing power of a Raspberry Pi, you open doors to a multitude of projects, including:
- Real-time Vehicle Diagnostics: Imagine having a live dashboard displaying your car’s vital signs, alerting you to potential issues before they escalate.
- Performance Monitoring: Track your driving habits, analyze fuel consumption, and even monitor engine performance metrics – all in real time.
- Advanced Car Hacking Projects: For the more adventurous, this combination can be used to delve into your car’s systems, allowing for modifications and customizations.
What You Need for Your OBD2 to Raspberry Pi 3 Setup
Gathering the right tools is the first step towards success. Here’s what you need:
- Raspberry Pi 3 (Model B or B+): Any model will work, but the B+ offers enhanced connectivity options.
- OBD2 Bluetooth or Wi-Fi Adapter: This acts as the bridge between your car’s OBD2 port and the Raspberry Pi. Choose the connection type that best suits your project needs.
- Micro SD Card: Your Raspberry Pi’s operating system and project files will reside here.
- Power Supply for Raspberry Pi: A reliable power source is crucial.
- Peripherals: Monitor, keyboard, and mouse for initial setup (you can switch to remote access later).
Step-by-Step Guide: Connecting OBD2 to Raspberry Pi 3
Now that you have your toolkit ready, let’s connect your OBD2 scanner to your Raspberry Pi 3:
- Prepare Your Raspberry Pi: Install your preferred operating system (we recommend Raspberry Pi OS) on the SD card and boot up your Raspberry Pi.
- Connect the OBD2 Adapter: Plug your chosen OBD2 adapter into your car’s OBD2 port, usually located under the dashboard on the driver’s side.
- Establish a Connection:
- Bluetooth Adapter: Enable Bluetooth on your Raspberry Pi, scan for available devices, and pair with your OBD2 adapter.
- Wi-Fi Adapter: Connect to your OBD2 adapter’s Wi-Fi network following the manufacturer’s instructions.
- Install Necessary Software: You’ll need software to communicate with the OBD2 adapter. Python libraries like
python-OBDare popular choices for their ease of use and extensive documentation. - Test the Connection: Run a simple Python script to retrieve basic OBD2 data, such as engine RPM or vehicle speed. This confirms successful communication between your devices.
Choosing the Right OBD2 Adapter: Bluetooth vs. Wi-Fi
When it comes to OBD2 adapters, the choice between Bluetooth and Wi-Fi largely depends on your project requirements:
Bluetooth OBD2 Adapters:
- Pros: Generally more affordable, easier to set up, and offer good range for in-car use.
- Cons: May have slightly higher latency compared to Wi-Fi, which could be a factor for projects requiring very fast data transfer.
Wi-Fi OBD2 Adapters:
- Pros: Offer faster data transfer rates, ideal for projects involving real-time data logging or analysis.
- Cons: Can be slightly more expensive, and setting up a Wi-Fi connection might require additional configuration.
For more detailed information on choosing the right adapter, check out our comprehensive guide on OBD2 Bluetooth Raspberry Pi 3.
Unleashing the Potential: Project Ideas for OBD2 and Raspberry Pi
Now that your OBD2 scanner is connected to your Raspberry Pi 3, here are some project ideas to spark your creativity:
- DIY Trip Computer: Build a custom display showing real-time fuel efficiency, distance traveled, estimated arrival time, and more.
- Performance Data Logger: Log data from your car’s sensors during track days or performance driving to analyze and improve your driving skills.
- Car Security System: Create a system that sends you alerts if your car is moved without authorization, or even implement a remote engine starter.
- Code Reader and Clearer: Read and clear diagnostic trouble codes (DTCs) yourself, potentially saving you a trip to the mechanic.
Troubleshooting Tips: Common Issues and Solutions
Encountering bumps along the way is normal. Here are some common issues and solutions:
- Connection Problems: Ensure your OBD2 adapter is properly plugged in and that your Raspberry Pi recognizes it. Double-check Bluetooth pairing or Wi-Fi connection settings.
- Data Retrieval Errors: Verify you’re using the correct OBD2 commands and that your chosen Python library is compatible with your adapter.
- Power Supply Issues: A weak or inconsistent power supply can lead to unpredictable behavior. Use a high-quality power adapter for your Raspberry Pi.
If you need further assistance with troubleshooting or want to explore advanced projects like OBD2 ELM327 Raspberry Pi integration, don’t hesitate to contact our team of experts. We’re here to help you turn your automotive ideas into reality.
Conclusion: Your Journey into the World of OBD2 and Raspberry Pi Starts Now
Connecting your OBD2 port to a Raspberry Pi 3 opens up a world of possibilities for car enthusiasts, tech aficionados, and anyone eager to explore the inner workings of their vehicles. With this guide, you have the foundational knowledge and tools to embark on your OBD2 and Raspberry Pi adventures.
Remember, the projects mentioned here are just the tip of the iceberg. As you delve deeper into the world of OBD2 for Raspberry Pi, you’ll discover even more creative and practical applications.
So, what are you waiting for? Grab your Raspberry Pi, choose the perfect OBD2 adapter, and start exploring the exciting world of connected cars!
Need help choosing the right OBD2 scanner? Consider these popular options:
- Raspberry Pi 3 B+ OBD2: A powerful and versatile combination.
- OBD2 Car Hack: For those looking to push the boundaries.
Our team at OBDFree is dedicated to providing you with the latest information and resources to make your OBD2 projects a success. Contact us via WhatsApp at +1(641)206-8880 or email us at [email protected]. We’re available 24/7 to assist you on your journey!


