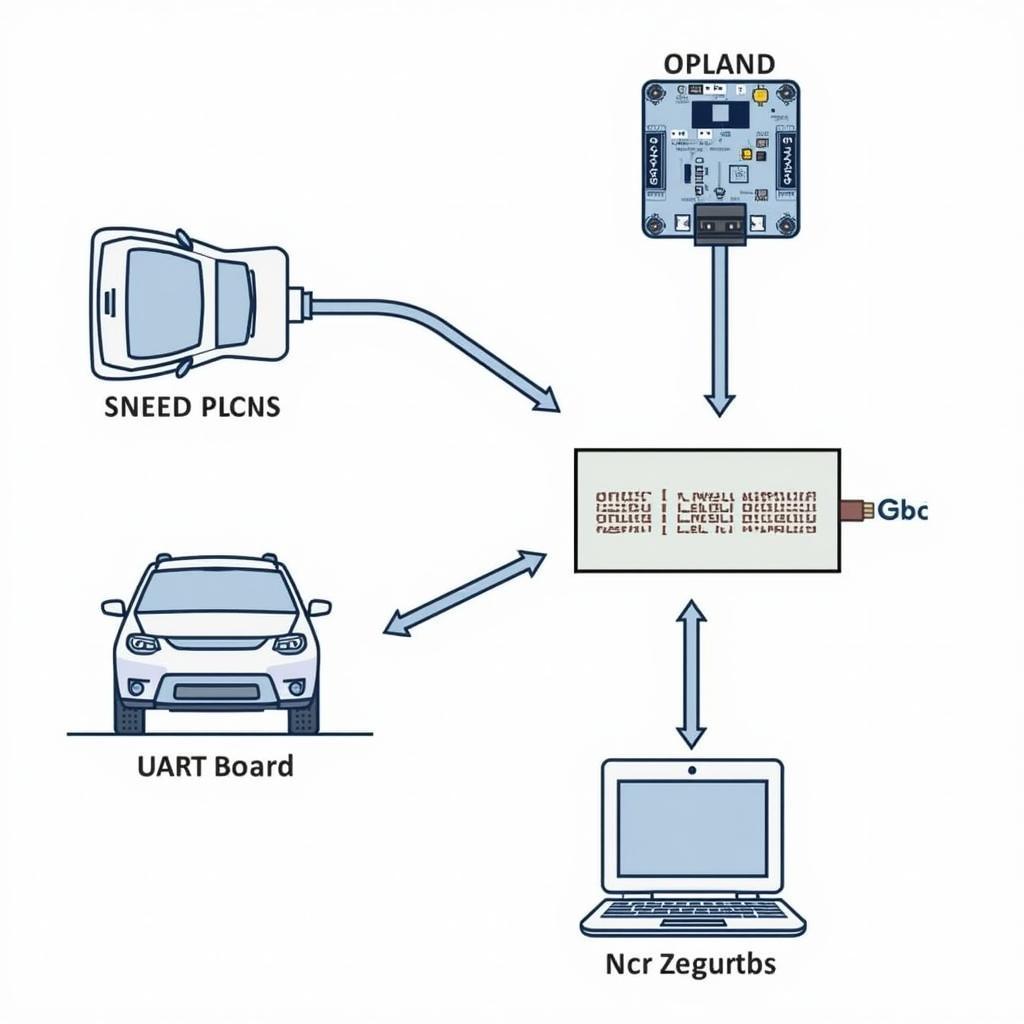
The OBD2 UART board acts as a bridge between your vehicle’s onboard diagnostics system and your computer or microcontroller. It allows you to tap into the wealth of data your car generates, opening up a world of possibilities for diagnostics, performance monitoring, and even custom modifications.
Decoding the Jargon: What is an OBD2 UART Board?
Before we delve deeper, let’s break down the terminology. OBD2 stands for On-Board Diagnostics, version 2, which is the standard protocol for accessing diagnostic information in vehicles manufactured after 1996. UART stands for Universal Asynchronous Receiver/Transmitter, a type of serial communication interface.
Essentially, an OBD2 UART board provides a convenient way to connect your computer or microcontroller to your vehicle’s OBD2 port and communicate using simple serial commands.
Why Use an OBD2 UART Board?
An OBD2 UART board empowers you to:
- Diagnose vehicle issues: Retrieve and interpret diagnostic trouble codes (DTCs) to identify and troubleshoot problems.
- Monitor real-time performance data: Access sensor readings such as engine speed, coolant temperature, oxygen sensor data, and more.
- Log data for analysis: Record data over time to analyze performance trends, fuel efficiency, and other parameters.
- Develop custom applications: Create your own diagnostic tools, performance dashboards, or even vehicle control systems.
Choosing the Right OBD2 UART Board
Selecting the appropriate OBD2 UART board depends on your specific needs and technical expertise. Here are some factors to consider:
- Communication interface: USB is the most common and user-friendly option for connecting to computers, while TTL serial is often preferred for microcontrollers.
- Voltage levels: Ensure the board’s voltage levels are compatible with your vehicle and microcontroller.
- Chipset: Different chipsets offer varying levels of performance and compatibility.
- Form factor: Choose a board size and shape that suits your application.
Setting Up Your OBD2 UART Board
Once you’ve chosen a board, setting it up is typically straightforward:
- Connect the board to your vehicle’s OBD2 port. The port is usually located under the dashboard on the driver’s side.
- Connect the board to your computer or microcontroller using a USB or serial cable, depending on the board’s interface.
- Install any necessary drivers or software as instructed by the board manufacturer.
Unleashing the Power of Data: Applications of OBD2 UART Boards
With your OBD2 UART board up and running, you can explore a myriad of applications:
- Build a DIY Scan Tool: Develop your own diagnostic tool to read and clear DTCs, monitor sensor data, and perform other diagnostic functions.
- Create a Custom Dashboard: Design a personalized dashboard to display real-time vehicle data, such as speed, RPM, fuel economy, and more.
- Enhance Your Driving Experience: Log and analyze data to improve your driving habits, optimize fuel efficiency, and track vehicle performance.
Beyond Diagnostics: The Future of OBD2 UART Boards
OBD2 UART boards are not just for mechanics or car enthusiasts anymore. As vehicles become increasingly connected, these boards are finding applications in areas such as:
- Fleet Management: Monitor vehicle location, fuel consumption, and driver behavior to optimize fleet operations.
- Insurance Telematics: Track driving habits to provide personalized insurance premiums based on risk assessment.
- Vehicle Research and Development: Collect real-world data for testing and developing new vehicle technologies.
Conclusion
OBD2 UART boards have revolutionized the way we interact with our vehicles, providing unprecedented access to valuable data. Whether you’re a car enthusiast, a professional mechanic, or a tech-savvy individual, an OBD2 UART board can unlock a world of possibilities for diagnostics, monitoring, and custom applications.
As technology advances, we can expect even more innovative uses for these versatile devices, further blurring the lines between mechanics and technology.
FAQs
1. Are OBD2 UART boards compatible with all vehicles?
OBD2 UART boards are generally compatible with vehicles manufactured after 1996 that adhere to the OBD2 standard. However, there might be exceptions, so it’s always recommended to check for compatibility with your specific vehicle model.
2. Do I need any programming knowledge to use an OBD2 UART board?
Basic programming knowledge can be helpful for developing custom applications, but it’s not always necessary. Many pre-built software and applications are available that allow you to interact with the board without extensive coding experience.
3. Is it safe to use an OBD2 UART board on my vehicle?
Using an OBD2 UART board is generally safe as long as you follow the manufacturer’s instructions and avoid tampering with sensitive vehicle systems.
4. Can I leave the OBD2 UART board connected to my car permanently?
While it’s possible to leave the board connected, it’s generally recommended to disconnect it when not in use to prevent potential battery drain or interference with other vehicle systems.
5. Where can I find additional resources and support for using OBD2 UART boards?
Online forums, communities, and manufacturer websites are excellent resources for finding information, tutorials, and support related to OBD2 UART boards.
For further assistance or personalized guidance, please don’t hesitate to reach out to our team of experts. Contact us via WhatsApp: +1(641)206-8880 or Email: [email protected]. We’re available 24/7 to assist you with any OBD2-related inquiries.


