Setting up your OBD2 scanner with Ubuntu 16.04 can seem daunting, but with the right guidance, it’s a manageable process. This guide will walk you through the necessary steps, software options, and troubleshooting tips to get your OBD2 scanner working seamlessly with your Ubuntu 16.04 system.
Understanding the Basics of OBD2 and Ubuntu 16.04
Before diving into the setup process, let’s clarify what OBD2 and Ubuntu 16.04 are. OBD2, or On-Board Diagnostics II, is a standardized system that allows you to access your vehicle’s diagnostic data. Ubuntu 16.04, a popular Linux distribution, provides the flexible platform for interfacing with your OBD2 scanner. Combining these two allows for powerful diagnostics and data analysis.
Choosing the Right OBD2 Scanner for Ubuntu 16.04
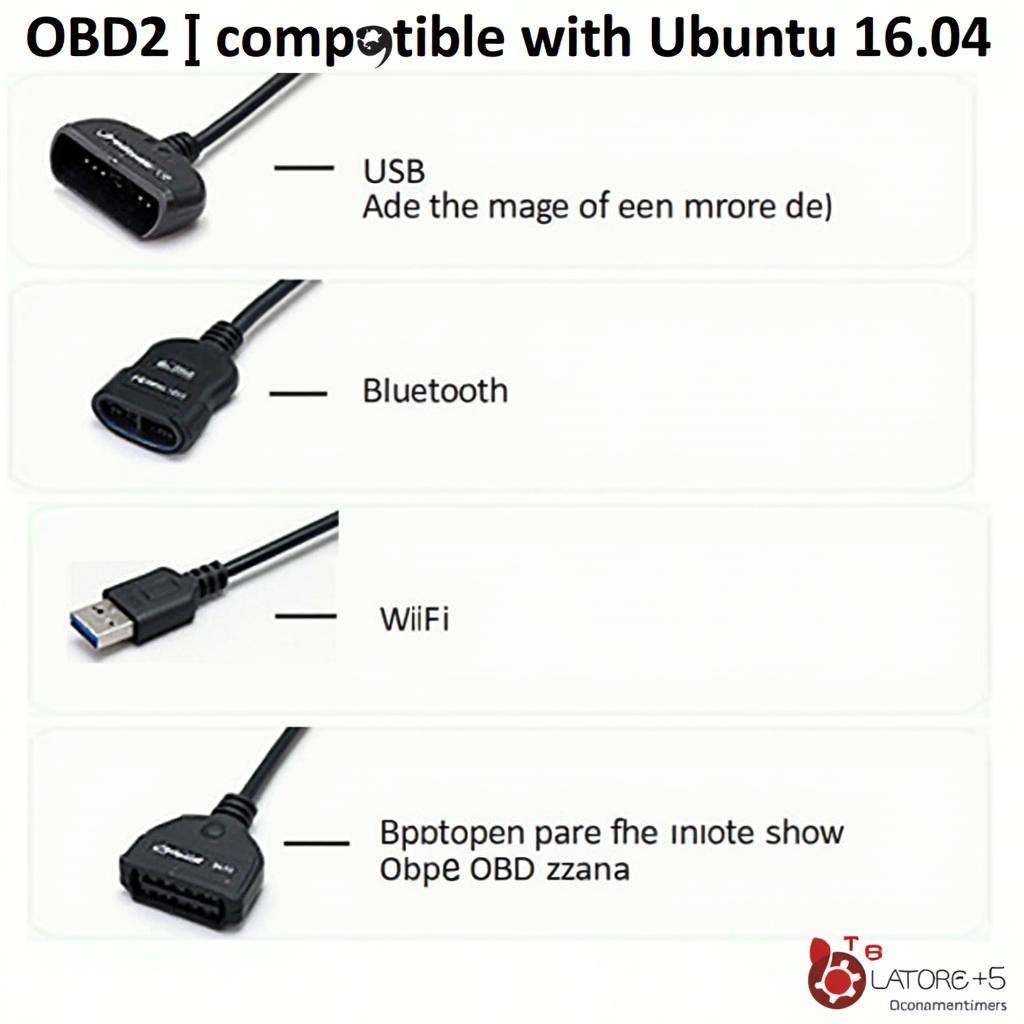
Selecting the right OBD2 scanner is crucial for compatibility and performance. While many scanners work with Windows, not all are compatible with Linux-based systems like Ubuntu 16.04. Look for scanners that explicitly state Linux compatibility or have proven community support. Consider factors like Bluetooth or USB connectivity, data refresh rate, and supported protocols.
Installing Necessary Software on Ubuntu 16.04
Once you have your OBD2 scanner, the next step is installing the required software on your Ubuntu 16.04 system. Essential software includes drivers for your specific scanner, and diagnostic software to interpret the data. Popular options include SocketCAN, guvcview (if using a webcam-based scanner), and various data visualization tools.
Installing SocketCAN
Open your terminal and enter the following command: sudo apt-get install can-utils. This installs the necessary utilities for communicating with your OBD2 scanner over the CAN bus.
Installing guvcview
If you are using a webcam-based OBD2 scanner, install guvcview using: sudo apt-get install guvcview. This allows you to access the video stream from the scanner.
Configuring Your OBD2 Scanner on Ubuntu 16.04
After installing the software, you’ll need to configure your OBD2 scanner. This often involves setting up the correct serial port or Bluetooth connection. Specific instructions will vary depending on your scanner model, so consult the manufacturer’s documentation.
Troubleshooting Common OBD2 Issues on Ubuntu 16.04
Sometimes, you might encounter issues connecting or communicating with your OBD2 scanner. Common problems include incorrect driver installation, permission issues, or conflicting software. Check online forums and community resources for solutions specific to your scanner and Ubuntu 16.04.
“Understanding the nuances of different OBD2 protocols and how they interact with Ubuntu 16.04 is crucial for successful diagnostics,” says Alex Nguyen, Senior Automotive Diagnostics Engineer. “Don’t be afraid to experiment with different software and settings to find the optimal configuration for your setup.”
Diagnosing Your Vehicle with OBD2 on Ubuntu 16.04
Once everything is set up, you can start diagnosing your vehicle. Use diagnostic software to read and interpret the data from your OBD2 scanner. Monitor various parameters, identify trouble codes, and gain valuable insights into your vehicle’s performance.
Conclusion
Setting up obd2 ubuntu 16.04 opens a world of possibilities for vehicle diagnostics. By following this guide, you can successfully connect and configure your OBD2 scanner on your Ubuntu 16.04 system. This allows you to perform advanced diagnostics, monitor vehicle performance, and gain a deeper understanding of your car’s inner workings.
“With the right tools and knowledge, obd2 ubuntu 16.04 empowers car owners to take control of their vehicle’s maintenance,” adds Maria Sanchez, Lead Software Developer at a leading automotive software company. “It’s a powerful combination for both enthusiasts and professionals.”
Need help with your car diagnostics? Contact us on WhatsApp: +1(641)206-8880, Email: [email protected] or visit us at 789 Elm Street, San Francisco, CA 94102, USA. Our 24/7 customer support team is always ready to assist you.