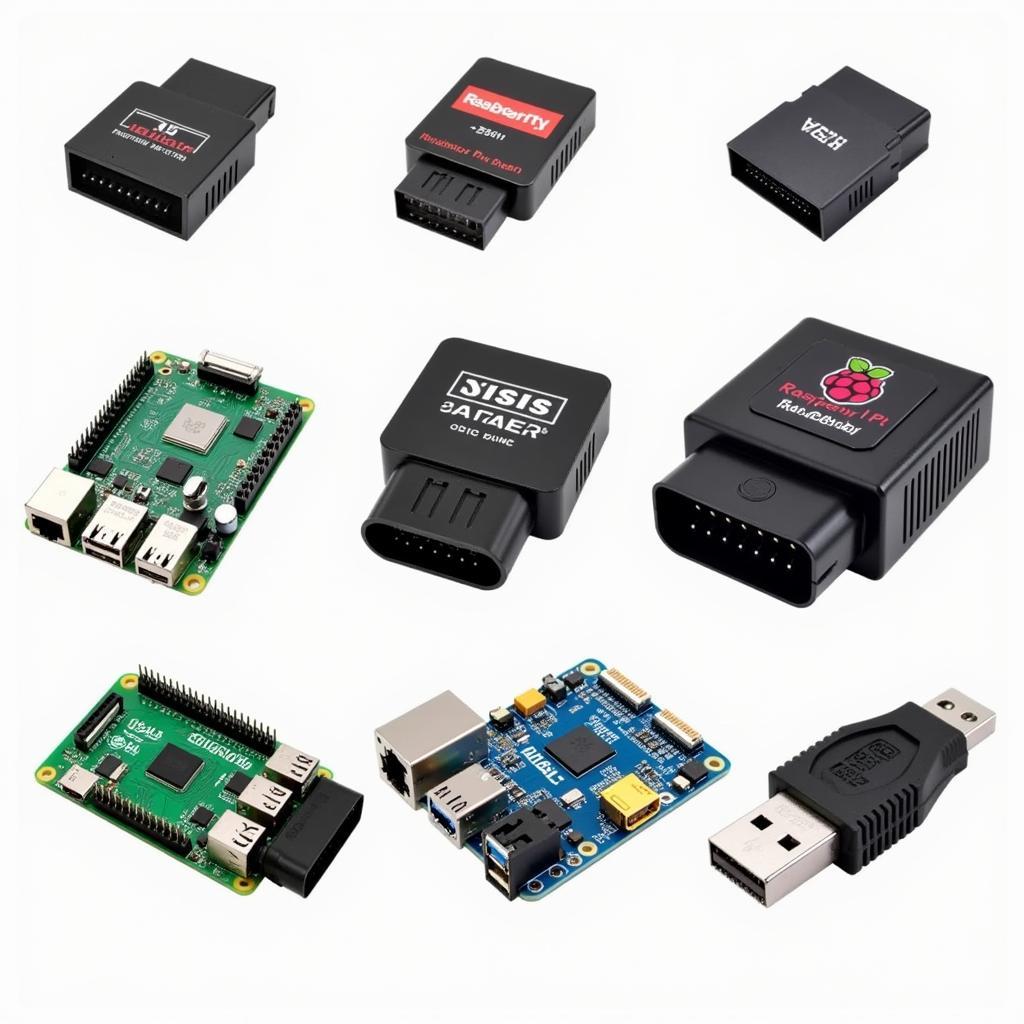
The Raspberry Pi 3 B+ combined with an OBD2 adapter presents a powerful and affordable solution for car diagnostics. This setup allows you to turn your Raspberry Pi into a comprehensive car computer, capable of reading and interpreting data from your car’s engine control unit (ECU).
Why Use a Raspberry Pi for OBD2 Diagnostics?
Traditional OBD2 scanners can be expensive and limited in functionality. A Raspberry Pi-based solution, on the other hand, offers several advantages:
- Cost-effectiveness: Raspberry Pi 3 B+ boards are very affordable, especially compared to dedicated scan tools.
- Customization: You have complete control over the software and functionality. Customize the interface, add features, and tailor the system to your specific needs.
- Learning opportunity: This project is a great way to learn about car electronics, programming, and Linux.
- Community support: A large and active community provides support, tutorials, and pre-built software solutions.
Getting Started with Raspberry Pi 3 B+ OBD2
Here’s what you need to get started:
- Raspberry Pi 3 B+: The heart of your OBD2 scanner.
- OBD2 Adapter: Connects the Pi to your car’s OBD2 port. Choose from Bluetooth, Wi-Fi, or USB adapters depending on your preference.
- Power Supply: To power the Raspberry Pi.
- MicroSD Card: For the Raspberry Pi’s operating system and software.
- Display: A monitor, TV, or even a small LCD screen to view the diagnostic data.
- Peripherals: Keyboard, mouse, and an internet connection for initial setup.
For a more convenient wireless setup, consider a raspberrry pi obd2 wifi adapter.
Setting Up Your Raspberry Pi OBD2 Scanner
- Install an Operating System: Download and install a Raspberry Pi OS like Raspberry Pi OS (formerly Raspbian) onto the microSD card.
- Enable SSH: For remote access to your Pi, enable SSH.
- Connect to Wi-Fi: Connect your Pi to your home network for easy access and software updates.
- Install OBD2 Software: Choose from various software options like Torque Pro, OBD Fusion, or build your own using Python libraries.
What Can You Do with a Raspberry Pi OBD2 Scanner?
- Read and clear Diagnostic Trouble Codes (DTCs): Identify and clear those pesky “check engine” lights.
- Monitor Real-time Engine Data: View live data such as engine speed, coolant temperature, oxygen sensor readings, and more.
- Log Data for Analysis: Record driving data to identify trends, diagnose intermittent problems, or track fuel efficiency.
- Customize Dashboards: Create personalized dashboards with the data that matters most to you.
- Advanced Diagnostics: With the right software and knowledge, you can perform more advanced diagnostics and even reprogram certain modules.
Remember, if you’re interested in exploring other applications for your OBD2 reader, check out our guide on using a obd2 reader for obd1 vehicles.
Tips and Considerations
- Choose the Right OBD2 Adapter: Research compatibility with Raspberry Pi and your car model.
- Start with a User-friendly Software: For beginners, user-friendly apps like Torque Pro offer a good starting point.
- Explore Python Libraries: For advanced users, Python libraries like “obd” provide extensive control and customization options.
- Safety First: When working with car electronics, always disconnect the battery before connecting or disconnecting any devices.
Conclusion
A Raspberry Pi 3 B+ OBD2 scanner is a versatile and affordable tool that empowers car owners and enthusiasts to take control of their vehicle diagnostics. With a little effort, you can build a powerful diagnostic system tailored to your needs.
Need more ideas on how to utilize your OBD2 scanner? Discover the possibilities of gps mileage tracking obd2 for accurate mileage logs.


