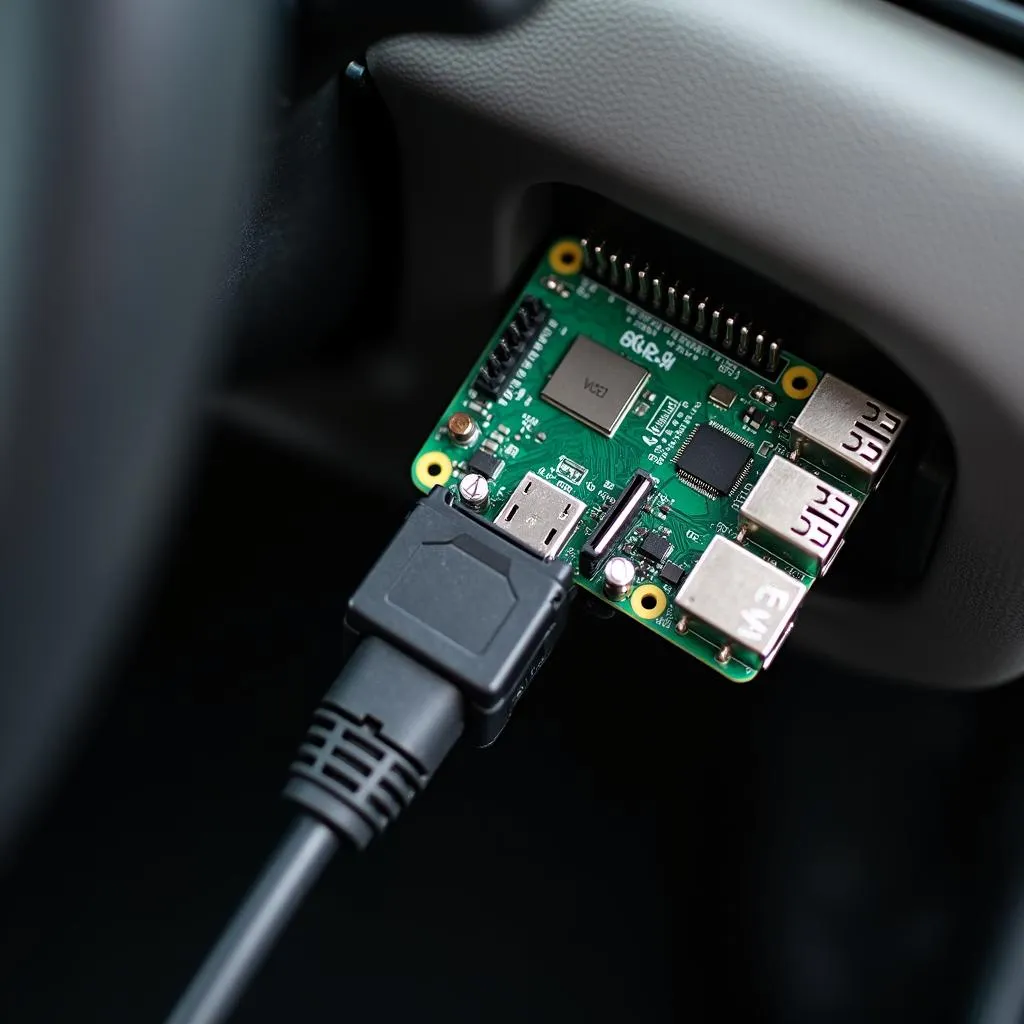
The world of car diagnostics can feel like a black box, especially with modern vehicles’ increasing complexity. But what if you could unlock that box, monitor your car’s vitals in real time, and even diagnose problems yourself – all with a device as small and versatile as a Raspberry Pi? That’s where Raspberry Pi OBD2 gauges come in, offering a powerful and affordable solution for DIY car enthusiasts.
Understanding OBD2 and Your Car’s Data
Before diving into Raspberry Pi OBD2 gauges, let’s briefly understand the technology that makes them possible:
- OBD2 (On-Board Diagnostics 2): This standardized system, mandatory in cars since 1996, acts like your car’s central nervous system. It continuously monitors various systems, collecting data from sensors throughout the vehicle.
- OBD2 Port: This 16-pin connector, usually located under the driver’s side dashboard, provides access to that treasure trove of data.
Why Choose Raspberry Pi for OBD2 Gauges?
A Raspberry Pi, with its affordability, processing power, and customization options, makes for an excellent platform to build custom OBD2 gauges. Here’s why:
- Cost-Effective: Compared to expensive standalone OBD2 scanners or aftermarket gauges, a Raspberry Pi setup offers significantly better value.
- Customization: Tailor your gauges to display exactly the data you need, from engine RPM and coolant temperature to fuel economy and even advanced sensor readings.
- DIY Project: Building your own Raspberry Pi OBD2 gauge is a rewarding learning experience, allowing you to delve into electronics, coding, and car mechanics.
What You Need to Get Started
Ready to build your own Raspberry Pi OBD2 gauge? Here are the essential components:
- Raspberry Pi: A Raspberry Pi 3 or newer model is recommended for smooth performance.
- OBD2 Adapter: Choose a reliable Bluetooth or USB OBD2 adapter that’s compatible with your Raspberry Pi.
- Display: Select a compatible display screen—from small LCDs to full-fledged touchscreens—based on your dashboard space and preference.
- Software: You’ll need software to read, interpret, and display the OBD2 data. Popular choices include Python libraries and pre-built dashboards.
Building Your Raspberry Pi OBD2 Gauges: A Step-by-Step Guide
While the specifics might vary depending on your chosen components and software, here’s a general outline:
-
Hardware Setup: Connect the OBD2 adapter to your Raspberry Pi and the display screen. Ensure all connections are secure.
-
Software Installation: Install the necessary operating system (usually a flavor of Linux) and software libraries on your Raspberry Pi.
-
OBD2 Communication: Configure the software to communicate with your OBD2 adapter and read data from your car.
-
Gauge Design: This is where you get creative! Design your custom gauges using programming languages or visual dashboard builders. Select the data points, layouts, colors, and warning thresholds you want to see.
-
Testing and Calibration: Before hitting the road, thoroughly test your gauges with your car to ensure accurate readings and functionality.
Taking it to the Next Level
Once you’ve mastered the basics, you can enhance your Raspberry Pi OBD2 gauge project with exciting additions:
- Data Logging: Log real-time data from your car to analyze performance, fuel efficiency, or identify potential issues over time.
- GPS Integration: Combine OBD2 data with GPS location for advanced features like trip tracking, speed limit warnings, and even performance analysis on specific routes.
- Cloud Connectivity: Upload data to the cloud for remote monitoring, data visualization on your phone, and even potential integration with smart home systems.
Raspberry Pi OBD2 Gauges: A Powerful Tool for Car Enthusiasts
Building your own Raspberry Pi OBD2 gauge system is a rewarding project that combines DIY electronics, coding, and automotive passion. It empowers you to understand your car better, unlock hidden data, and even diagnose potential issues before they become major headaches.
So, if you’re a car enthusiast looking to dive deeper into the world of automotive diagnostics and add a personal touch to your driving experience, the Raspberry Pi OBD2 gauge is the perfect project to embark on.


