The Raspberry Pi OBD2 simulator is a powerful tool for automotive enthusiasts, students, and professionals alike. It allows you to simulate the behavior of a car’s onboard diagnostics system, providing valuable insights into vehicle performance and troubleshooting capabilities.
Understanding OBD2 and its Significance
Before delving into the specifics of the Raspberry Pi OBD2 simulator, it’s crucial to grasp the fundamentals of the OBD2 system itself. OBD2, short for On-Board Diagnostics, second generation, is a standardized system found in most modern vehicles. It allows external devices, like scanners and code readers, to communicate with the car’s computer, retrieving diagnostic information and troubleshooting data.
What is a Raspberry Pi OBD2 Simulator?
A Raspberry Pi OBD2 simulator essentially replicates the OBD2 system of a vehicle using a Raspberry Pi, a credit card-sized computer. This simulated environment enables you to:
- Test OBD2 Scanners: Verify the functionality and compatibility of different OBD2 scanners without needing a real vehicle.
- Develop Diagnostic Applications: Create and debug your own OBD2 software applications in a controlled setting.
- Learn About Vehicle Communication: Gain a deeper understanding of how vehicles communicate data through the OBD2 protocol.
Building Your Own Raspberry Pi OBD2 Simulator
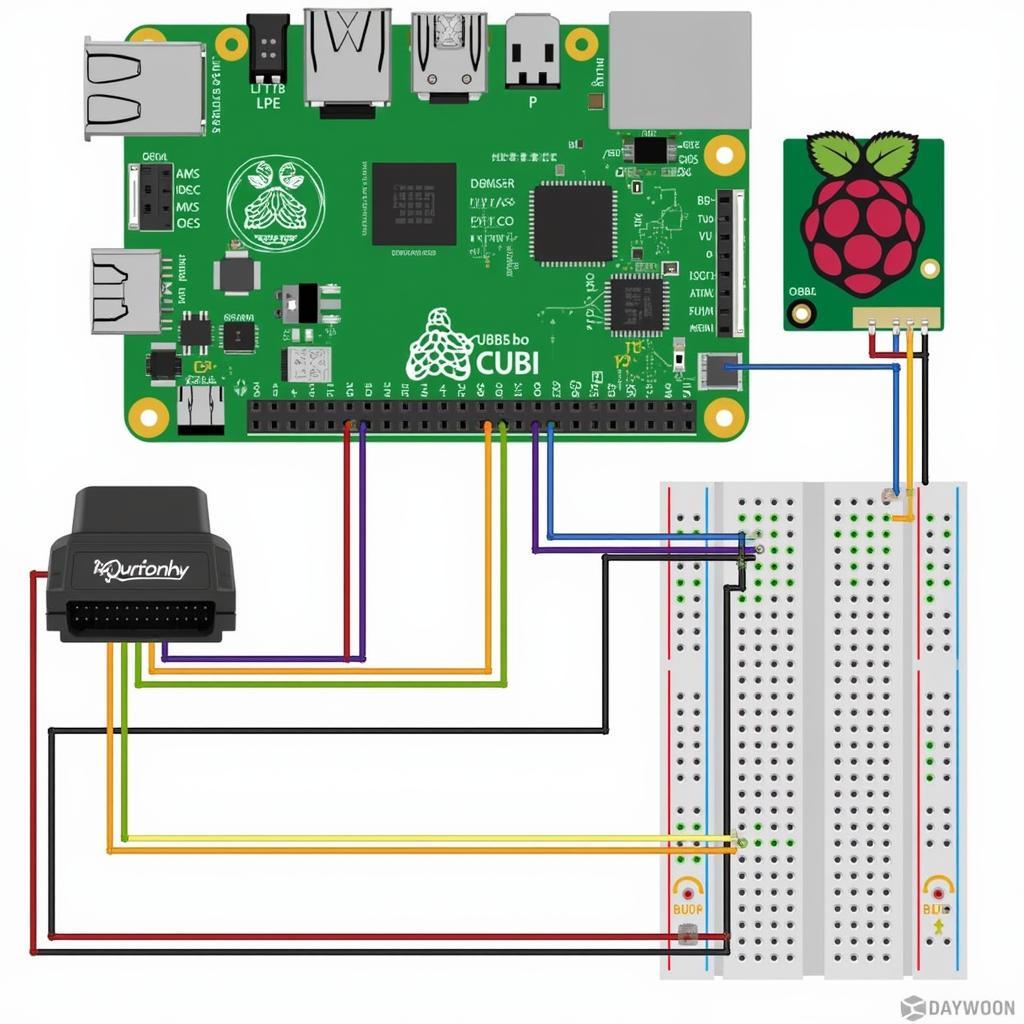
Creating a Raspberry Pi OBD2 simulator is an achievable project, even for those new to electronics. Here’s a breakdown of the essential components:
- Raspberry Pi: The core of your simulator, responsible for processing and transmitting data.
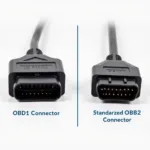
- OBD2 Connector: Provides a physical interface to connect your simulator to other devices.
- CAN Bus Transceiver: Enables communication between the Raspberry Pi and the OBD2 protocol.
- Jumper Wires and Breadboard: Used for wiring and prototyping your circuit.
Setting Up the Software
Once your hardware is assembled, you’ll need to install the necessary software on your Raspberry Pi:
- Operating System: Install a compatible operating system, such as Raspberry Pi OS.
- CAN Bus Library: Utilize a library like Python-CAN to interact with the CAN bus.
- OBD2 Simulator Software: Choose from various open-source or custom-built simulator software available online.
Simulating OBD2 Data
With the software configured, you can now simulate various OBD2 parameters, including:
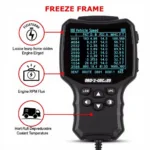
- Engine RPM: Simulate different engine speeds to test tachometer readings and performance calculations.
- Vehicle Speed: Mimic driving speeds to check speedometer accuracy and fuel efficiency estimates.
- Coolant Temperature: Generate temperature readings to diagnose potential overheating issues.
Advantages of Using a Raspberry Pi OBD2 Simulator
- Cost-Effective: Building a simulator is significantly more affordable than purchasing a commercial solution.
- Customization: Tailor the simulator’s behavior and parameters to meet your specific testing or development needs.
- Educational Value: Provides hands-on experience with OBD2 technology and vehicle communication protocols.
Conclusion
The Raspberry Pi OBD2 simulator is an incredibly versatile tool, empowering users to delve into the world of automotive diagnostics and gain a deeper understanding of vehicle systems. Whether you’re a hobbyist, student, or professional, a Raspberry Pi OBD2 simulator can be an invaluable asset for testing, development, and educational purposes.


