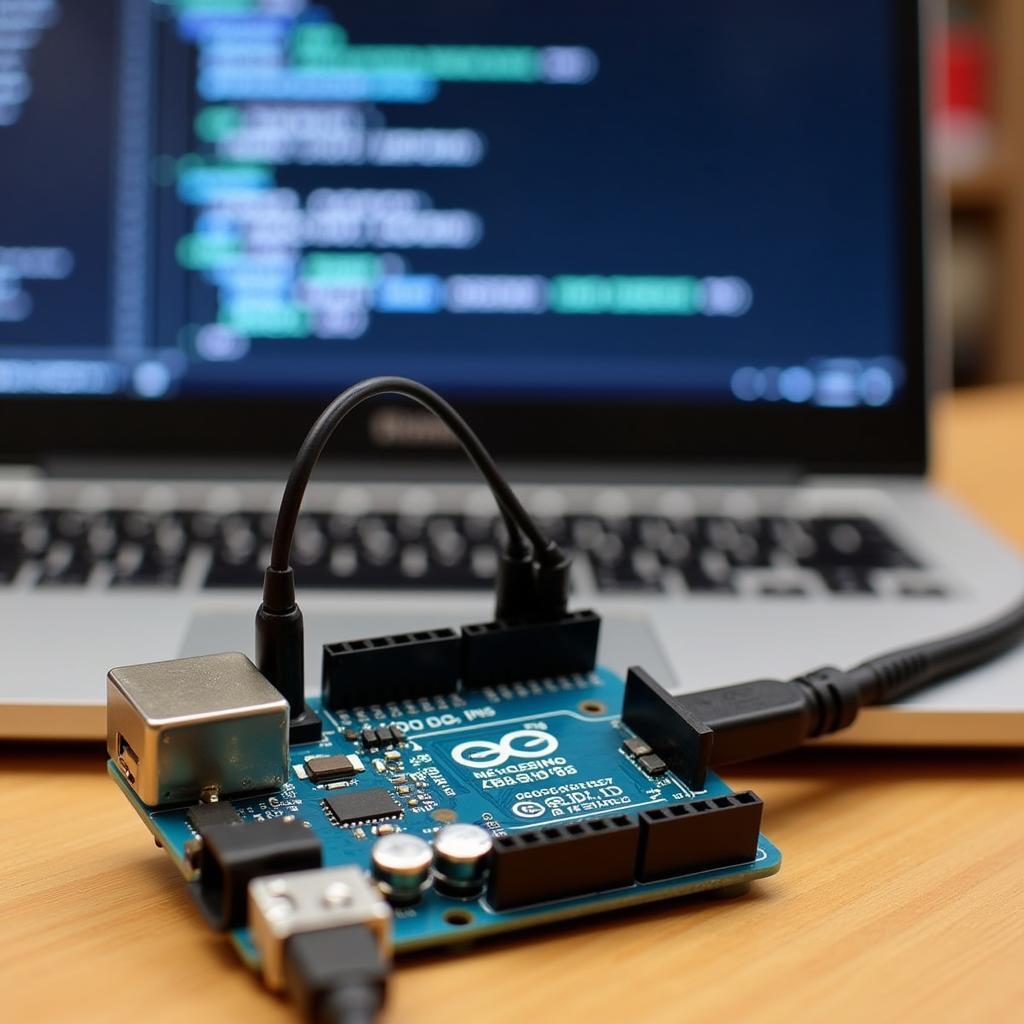
Delving into the world of car diagnostics no longer requires expensive, specialized tools. With a bit of know-how and an Arduino, you can unlock a wealth of information hidden within your car’s OBD2 port. This guide explores how to read OBD2 with Arduino, empowering you to diagnose car problems, monitor performance, and even customize your driving experience.
Understanding OBD2 and its Potential
On-board Diagnostics, or OBD2, is a standardized system present in most cars manufactured after 1996. This system acts as your car’s internal communication network, constantly monitoring various sensors and components. The OBD2 port, usually located under the dashboard on the driver’s side, provides access to this treasure trove of data.
By tapping into OBD2 with an Arduino, you can:
- Retrieve and decode Diagnostic Trouble Codes (DTCs): Identify the root cause of those pesky “check engine” lights and other malfunctions.
- Monitor real-time engine parameters: Access data like speed, RPM, coolant temperature, fuel consumption, and more.
- Log data for analysis: Track performance trends, diagnose intermittent issues, and optimize fuel efficiency.
- Develop custom car applications: Create personalized dashboards, performance trackers, or even automated systems.
Essential Components for Your Arduino OBD2 Reader
Before you embark on your DIY OBD2 adventure, gather the following components:
- An Arduino board: The Arduino Uno is a great starting point, offering a balance of simplicity and capability.
- An OBD2 to TTL converter: This crucial component acts as a bridge between your Arduino and your car’s OBD2 port, translating signals for seamless communication.
- Jumper wires: Connect the OBD2 converter to your Arduino, establishing the data pathway.
- A breadboard (optional): Provides a convenient platform for prototyping and connecting components, especially if you’re experimenting with additional sensors or displays.
Setting Up Your Arduino OBD2 Project
- Wiring the components: Connect the OBD2 converter to your Arduino using jumper wires, referring to the specific pin configuration provided with your converter model.
- Uploading the Arduino code: Download a suitable OBD2 library for your Arduino IDE. The library provides pre-built functions to communicate with the OBD2 system. Numerous libraries are available online, with varying levels of complexity and features.
- Connecting to your car: Plug the OBD2 converter into your car’s OBD2 port. Ensure your car’s ignition is switched to the “on” position (engine not running) to power the OBD2 system.
Diving into OBD2 Commands and Data
OBD2 communication revolves around standardized commands and responses. Commands are sent from your Arduino to the car’s ECU (Electronic Control Unit), requesting specific data. The ECU responds with the requested information, which you can then process and display.
Some commonly used OBD2 commands include:
- Mode 01, PID 0C (Engine RPM): Retrieves the engine’s current revolutions per minute.
- Mode 01, PID 0D (Vehicle Speed): Provides the vehicle’s speed in kilometers per hour.
- Mode 01, PID 05 (Engine Coolant Temperature): Retrieves the engine coolant temperature in degrees Celsius.
- Mode 03 (Request Diagnostic Trouble Codes): Fetches stored DTCs, helping you pinpoint issues.
Beyond the Basics: Expanding Your OBD2 Project
Once you’ve mastered the fundamentals of reading OBD2 with Arduino, the possibilities are endless!
Consider these exciting expansions:
- Data logging to an SD card: Store historical data for later analysis, allowing you to track performance trends and diagnose intermittent issues.
- Real-time data visualization: Connect your Arduino to an LCD display, LEDs, or even create a custom mobile app to visualize data in real-time.
- GPS integration: Combine OBD2 data with GPS location for comprehensive performance mapping and route analysis.
- Advanced diagnostics: Explore more in-depth OBD2 commands to access sensor data, perform actuator tests, and delve into more advanced diagnostic procedures.
Conclusion: Embrace the Power of DIY Car Diagnostics
Reading OBD2 with Arduino opens a world of possibilities for car enthusiasts and DIYers alike. By harnessing the power of this versatile platform, you gain a deeper understanding of your vehicle’s inner workings, empowering you to take control of your car’s maintenance, performance, and even its future possibilities.
If you need further guidance or have specific projects in mind, don’t hesitate to reach out. Our team of experts is always happy to assist. Contact us via WhatsApp at +1(641)206-8880 or email us at [email protected]. We offer 24/7 support to help you with your DIY car diagnostic journey.


