Delving into the world of car diagnostics can be an exciting endeavor, especially with the versatility of Arduino. This guide explores the ins and outs of reading OBD2 data with Arduino, providing you with the knowledge to unlock your vehicle’s secrets.
Understanding OBD2 and Its Significance
On-board diagnostics, better known as OBD2, is a standardized system that allows external electronics to interface with a vehicle’s computer. This system provides a wealth of data about your car’s health, performance, and even driver behavior. Think of it as your car’s own personal translator, converting complex mechanical and electronic signals into digestible data points.
By tapping into the OBD2 system, you can access information like:
- Engine RPM: This indicates how fast your engine is spinning, providing insights into its performance and efficiency.
- Vehicle Speed: Get accurate real-time speed readings directly from the vehicle’s computer.
- Coolant Temperature: Monitor your engine’s temperature to prevent overheating and identify potential cooling system issues.
- Fuel Consumption: Track your fuel usage over time and optimize your driving habits for better fuel economy.
- Diagnostic Trouble Codes (DTCs): These codes pinpoint specific issues within your car’s systems, aiding in diagnosis and repair.
Why Choose Arduino for OBD2 Reading?
Arduino, a favorite among hobbyists and professionals, emerges as a powerful tool for interfacing with OBD2 systems due to its:
- Affordability: Arduino boards are incredibly cost-effective compared to dedicated automotive diagnostic tools, making it an accessible option for enthusiasts.
- Flexibility: Arduino’s open-source nature and wide range of compatible hardware provide the flexibility to customize your OBD2 reading setup to your needs.
- Ease of Use: Even with limited programming experience, Arduino’s beginner-friendly programming language and extensive online resources make it easy to get started.
 OBD2 Arduino Project Setup
Connecting Your Arduino to Your Car’s OBD2 Port
The process of connecting your Arduino to your car’s OBD2 port is surprisingly simple:
- Locate Your Car’s OBD2 Port: Typically found under the dashboard on the driver’s side, the OBD2 port is a trapezoidal 16-pin connector.
- Choose an OBD2 to UART Converter: Arduino boards don’t directly communicate with the OBD2 protocol, requiring a converter like the popular ELM327 chip. These converters translate the OBD2 signals into a format Arduino can understand.
- Connect the Hardware: Connect the OBD2 converter to your Arduino board using jumper wires, following the pinout diagrams provided with your specific converter model.
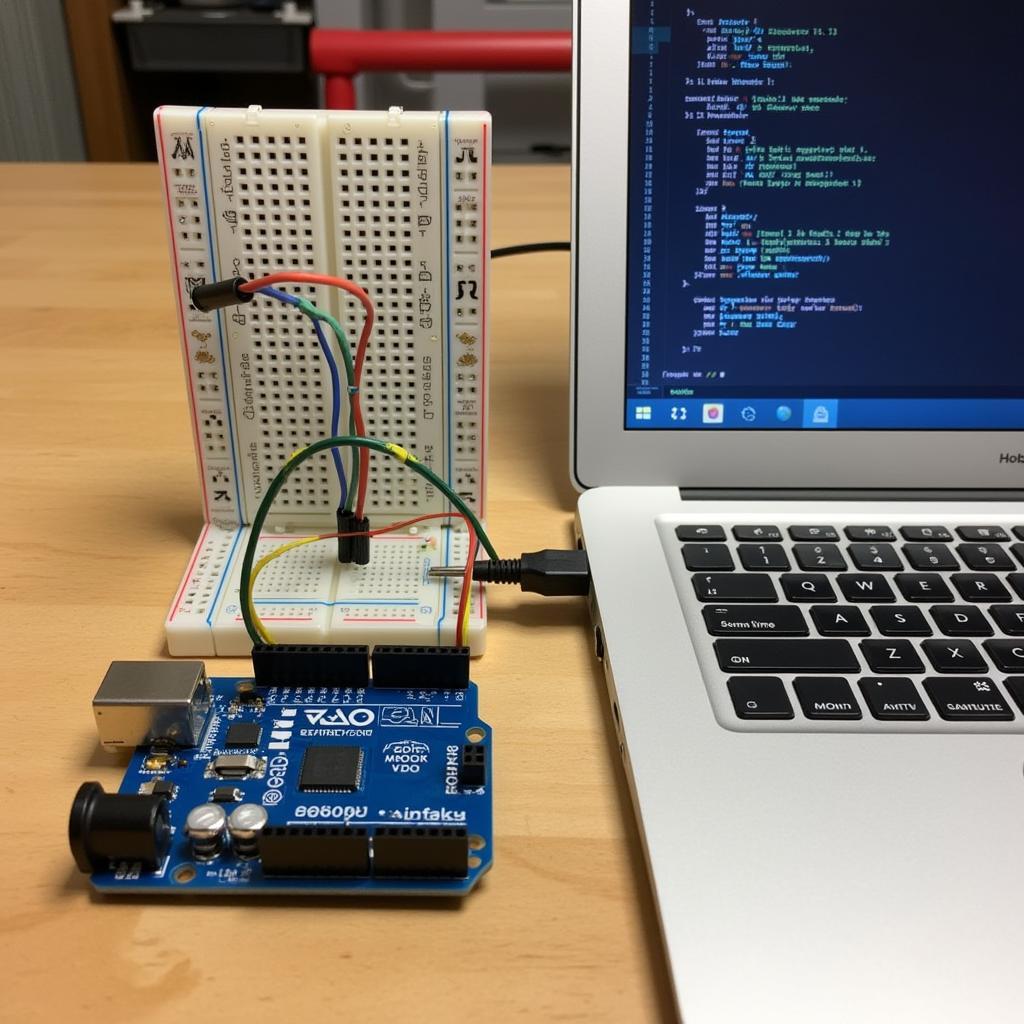
- Power Up and Connect: Connect your Arduino to your computer via USB and power it up. Your computer should recognize the Arduino and the connected OBD2 converter.
Decoding OBD2 Data with Arduino Code
With the hardware set up, you’ll need to upload an Arduino sketch (code) to instruct it on how to communicate with the OBD2 system.
- Install Libraries: Arduino IDE requires specific libraries to interact with the OBD2 converter. The most common one is the “SoftwareSerial” library.
- Find and Upload Example Code: Many online resources offer pre-written Arduino sketches for OBD2 reading. These sketches provide a good starting point for your project.
- Customize Your Code: Modify the example code to retrieve and display specific OBD2 parameters you’re interested in, such as engine RPM, vehicle speed, or fuel level.
For example, the following code snippet demonstrates how to retrieve the engine RPM using the OBD2 command “010C”:
#include <SoftwareSerial.h>

SoftwareSerial obdSerial(2, 3); // RX, TX pins for OBD2 connection

void setup() {
  Serial.begin(9600);
  obdSerial.begin(9600);
}

void loop() {
  if (obdSerial.available() > 0) {
    // Send OBD2 command to get engine RPM (PID 010C)
    obdSerial.println("010Cr");
    delay(100); // Wait for response

    if (obdSerial.available() > 0) {
      String response = obdSerial.readStringUntil('>');
      // Process response to extract RPM value
    }
  }
}
Visualizing Your OBD2 Data
Once you have the Arduino reading data from your car, you can display it in various ways:
- Serial Monitor: The simplest method involves printing the data to the Arduino IDE’s serial monitor, allowing you to view the raw values.
- LCD Displays: Connect an LCD display to your Arduino to create a dedicated dashboard for your car, showcasing real-time data.
- Data Logging: Store the OBD2 data on an SD card or send it to a cloud platform for later analysis and visualization.
Taking Your OBD2 Arduino Project Further
The possibilities with reading OBD2 data using Arduino are endless:
- Build a Trip Computer: Create a comprehensive trip computer that displays fuel consumption, distance traveled, average speed, and more.
- Develop a Performance Monitor: Monitor vital engine parameters like RPM, throttle position, and intake air temperature to analyze your car’s performance.
- Set Up Diagnostic Alerts: Program your Arduino to trigger alerts when specific OBD2 fault codes are detected, providing early warnings for potential issues.
Conclusion
Reading OBD2 with Arduino opens up a world of opportunities for understanding, monitoring, and even enhancing your car’s capabilities. With its affordability, flexibility, and ease of use, Arduino empowers you to become your own automotive diagnostician and unlock a deeper connection with your vehicle.
If you’re eager to delve into the world of car diagnostics and explore the potential of OBD2 data, you might be interested in learning more about arduino obd2 code reader or exploring the possibilities of app obd2 android auto.

