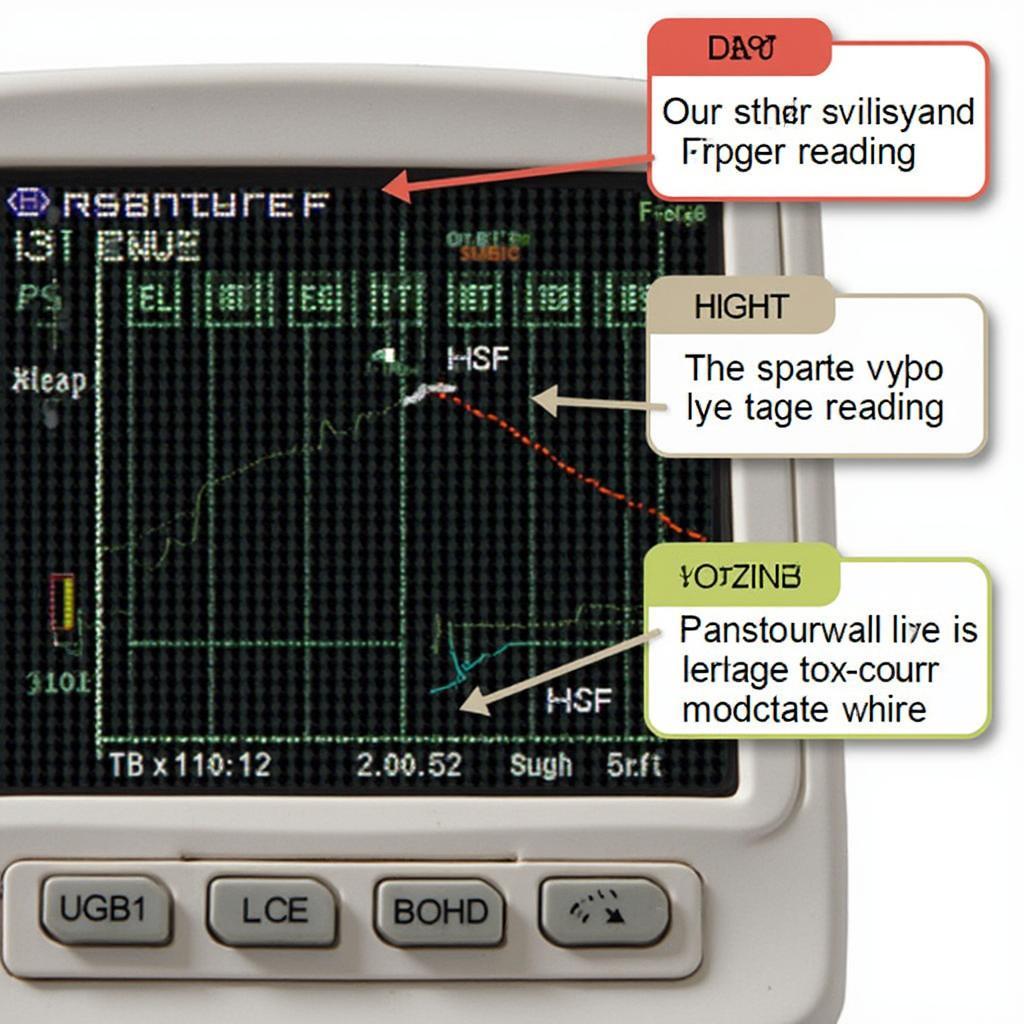
Using an OBD2 scan tool to test an oxygen sensor is a crucial aspect of modern car maintenance. A faulty oxygen sensor can significantly impact your vehicle’s performance, fuel efficiency, and emissions. This guide will provide a comprehensive overview of how to effectively utilize your OBD2 scanner to diagnose oxygen sensor problems. Learn how to interpret the data and understand what steps to take next.
Understanding the Oxygen Sensor’s Role
Your oxygen sensor, also known as an O2 sensor, plays a vital role in ensuring your engine runs efficiently. It constantly monitors the amount of unburnt oxygen in your exhaust gases. This information is relayed to your car’s engine control unit (ECU), which then adjusts the air-fuel mixture accordingly. A correctly functioning oxygen sensor ensures optimal combustion, leading to better fuel economy and reduced emissions.
How to Test an Oxygen Sensor with an OBD2 Scanner
Using an OBD2 scanner to test your oxygen sensor is a relatively straightforward process. Here’s a step-by-step guide:
- Locate the OBD2 port: This port is typically located under the dashboard on the driver’s side. You can refer to your owner’s manual if you are having trouble finding it. This is also where you would plug in a device like the one featured in our 2013 mini cooper obd2 port article.
- Connect the OBD2 scanner: Plug your scanner into the OBD2 port.
- Turn on the ignition: Turn the key to the “on” position, but do not start the engine.
- Initiate the scanner: Follow the instructions on your specific OBD2 scanner to access the live data stream.
- Locate the oxygen sensor data: Look for readings labeled “O2 Sensor Bank 1 Sensor 1”, “O2 Sensor Bank 1 Sensor 2”, “O2 Sensor Bank 2 Sensor 1”, and “O2 Sensor Bank 2 Sensor 2”. The specific labels might vary slightly depending on your scanner and vehicle.
- Interpret the data: A healthy oxygen sensor voltage should fluctuate between 0.1 volts and 0.9 volts. A stuck sensor will show a constant reading, while a sluggish sensor will change voltage very slowly.
 Interpreting Oxygen Sensor Data
What Does a Failing Oxygen Sensor Look Like on an OBD2 Scanner?
A failing oxygen sensor will often display specific symptoms on your OBD2 scanner. This includes readings that are stuck at a certain voltage, unusually slow voltage changes, or readings outside the normal operating range.
- Stuck Sensor: A sensor stuck at a high voltage (close to 0.9 volts) suggests a lean fuel mixture. A sensor stuck at a low voltage (close to 0.1 volts) indicates a rich fuel mixture.
- Sluggish Sensor: A sensor that responds slowly to changes in the exhaust gas composition indicates a sluggish sensor. This can lead to poor fuel economy and increased emissions.
- Out of Range Readings: Readings consistently outside the normal 0.1 to 0.9-volt range often signify a faulty sensor.
Common OBD2 Codes Related to Oxygen Sensors
Certain OBD2 codes are directly related to oxygen sensor issues. Here are a few common ones:
- P0130: Oxygen Sensor Circuit Malfunction (Bank 1 Sensor 1)
- P0131: Oxygen Sensor Circuit Low Voltage (Bank 1 Sensor 1)
- P0132: Oxygen Sensor Circuit High Voltage (Bank 1 Sensor 1)
- P0133: Oxygen Sensor Circuit Slow Response (Bank 1 Sensor 1)
- P0134: Oxygen Sensor Circuit No Activity Detected (Bank 1 Sensor 1)
You can find more information on codes like P0032 and P0137 in our dedicated article p0032 and p0137 obd2.
Why is Using an OBD2 Scan Tool Important for Oxygen Sensor Testing?
Using an OBD2 scan tool offers a precise and efficient way to diagnose oxygen sensor problems. It allows you to see the real-time data from the sensor, which can help pinpoint the exact issue. This eliminates guesswork and can save you time and money on unnecessary repairs. Consider pairing your OBD2 scanner with a compatible app, as discussed in our subaru obd2 ios app article, for enhanced functionality and data analysis. For a comprehensive overview of OBD2 scanning apps, check out our car scanner elm obd2 app resource.
Conclusion
Using an OBD2 scan tool testing oxygen sensor function is an essential skill for any car owner. This allows for early detection of potential problems and ensures your vehicle runs at peak performance. Remember to consult a qualified mechanic if you encounter any issues beyond your expertise. A properly functioning oxygen sensor is vital for fuel efficiency, reduced emissions, and optimal engine performance.
FAQ
- How often should I test my oxygen sensors? Generally, oxygen sensors should be checked every 30,000 to 60,000 miles.
- Can I replace an oxygen sensor myself? Yes, many DIYers can replace an oxygen sensor with basic tools.
- What are the symptoms of a bad oxygen sensor? Symptoms can include decreased fuel economy, rough idling, and increased emissions.
- How much does it cost to replace an oxygen sensor? The cost varies depending on the make and model of your vehicle but typically ranges from $100 to $300.
- Can a bad oxygen sensor damage my catalytic converter? Yes, a faulty oxygen sensor can lead to damage to the catalytic converter.
- How can I tell which oxygen sensor is bad? An OBD2 scanner can help pinpoint the specific faulty sensor.
- What are the different types of oxygen sensors? There are two main types: narrowband and wideband sensors.
Looking for information about OBD2 codes for a 2015 Prius? Check out our 2015 prius obd2 article.
For any support, please contact us via WhatsApp: +1(641)206-8880, Email: [email protected], or visit us at 789 Elm Street, San Francisco, CA 94102, USA. Our customer service team is available 24/7.

